Thursday, 26 February 2015

Dribble bib DIY

I have been sitting on this one for a while because I couldn't get my scanner working for the template but here you go...

I don't know about other little people, but mine is like a waterfall of dribble (and usually snot) when she's teething. Plus a coordinating dribble bib looks very cute! 
Dribble Bibs are quick and easy to knock up with very little time and fabric, plus they make great gifts for a new baby.


What you will need......

  • Cotton fabric for the top 
  • For the lining I use muslin cloths that have got stained, other suggestions are knit, terry cloth or flannel.
  • Template
  • 1-1.5inch of Velcro or Poppers also called snaps
  • Contrasting thread 
  • Pins
  • Fabric pencils/Vanishing pen
  • Scissors 


The top fabric is the sleeve of an old tshirt that has been stamped with fabric paint. Fabric paint is so much funnnnnnnn.


ONE. Download the template and cut out the top fabric and lining fabric, remembering to leave the seam allowance.


TWO (If your using Velcro) Attach one side of the Velcro to the right size of the top fabric near the corner. and in the same place on the lining fabric attach the second bit of Velcro
.


THREE Pin the 2 fabrics right size together, then sew around it leaving a 2inch gap at the end, so it can be turned the right way out.

FOUR Trim the corners makes it easier to turn out. Once turned give it a quick press (careful of the Velcro) and hand or machine sew close the gap.


FIVE Stitch around the outside to make it lay flatter and pop it around your little persons neck.


SIX Sit back make yourself a cup of tea and enjoy not having to change their clothing every 10 mins.

One happy Squiggle!!

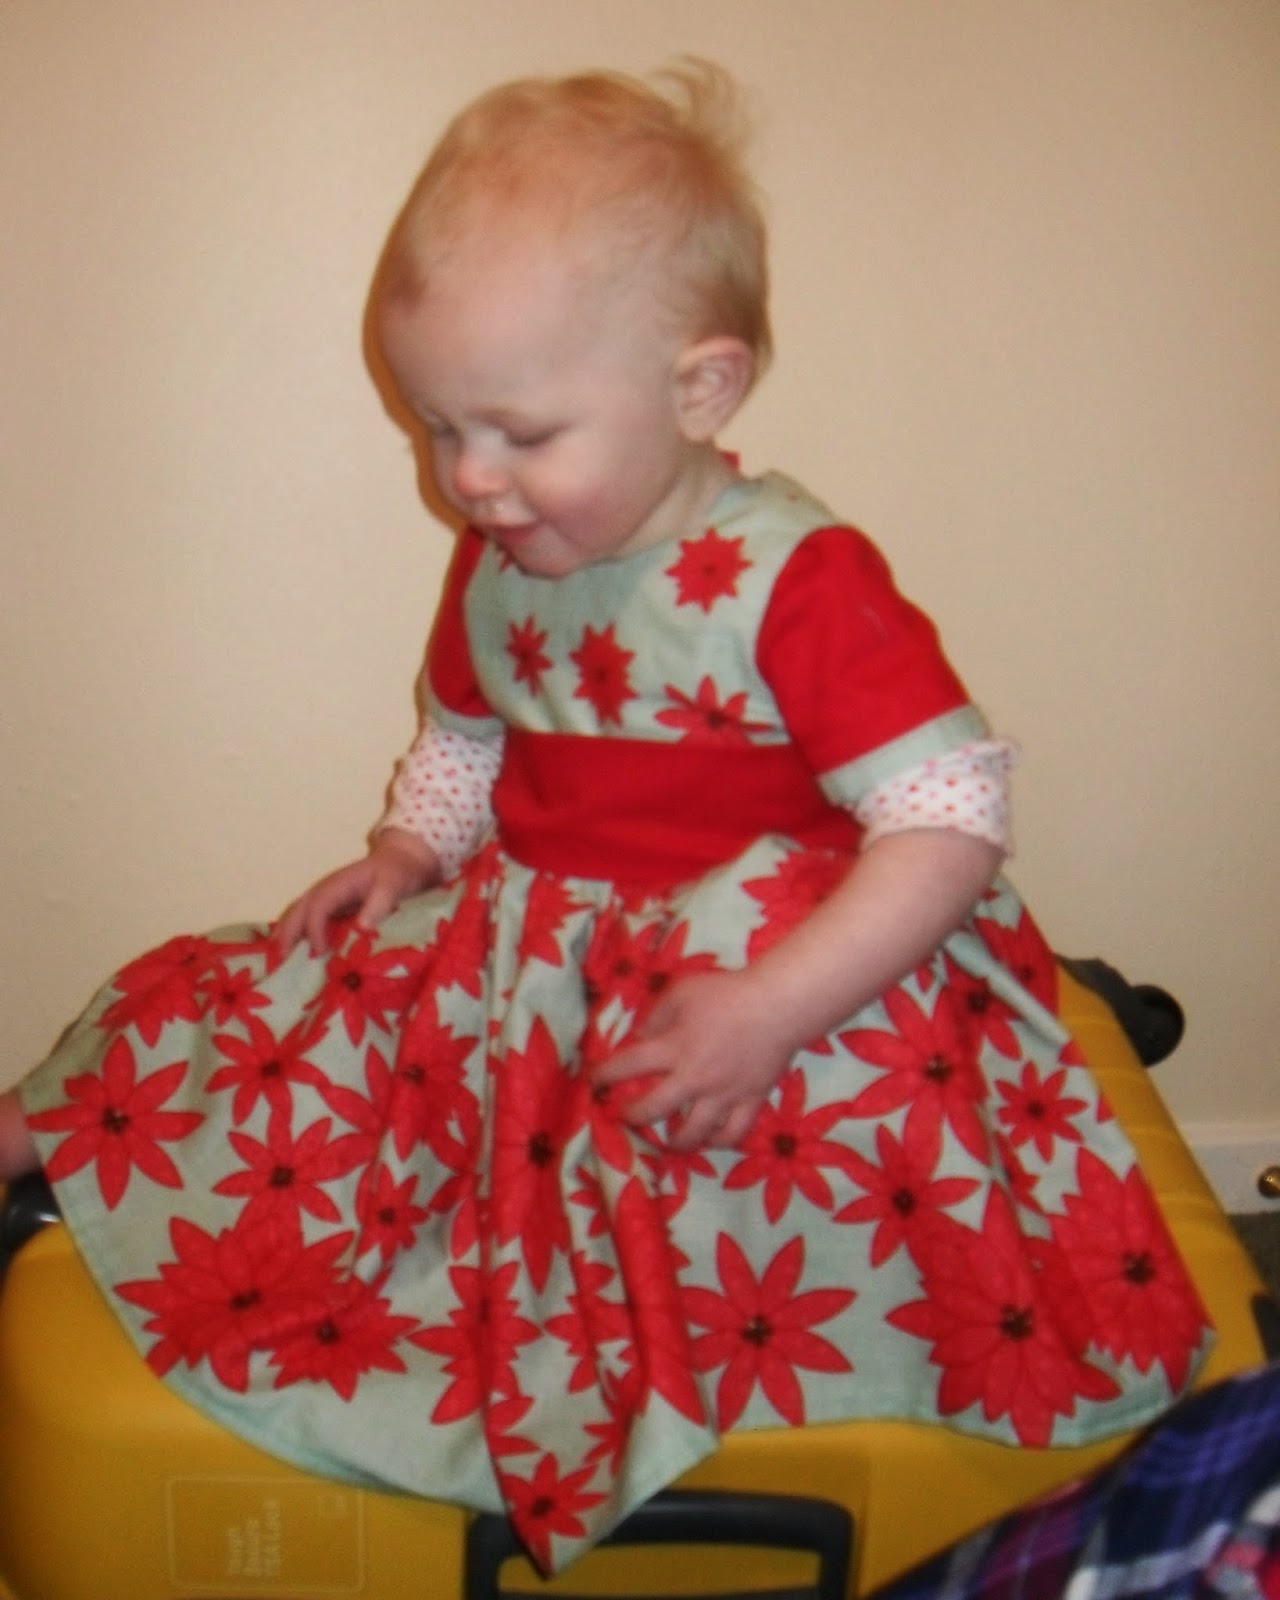
Have you spotted the dress made from this fabric!?! I will write a tutorial but I completely forgot to take picture when I made that one. Fail

Mine cost a grand total of a bit of thread. Recycling at its best!

For other ideas on how to personise your dribble bibs pop over to my Pinterest. http://uk.pinterest.com/k8efrew/dribble-bib/

Have a lovely week xx

Monday, 23 February 2015

Happy sewing week

I am having one of those days. 4 houses sleep and now small is refusing to nap so tired!! Can identify with this today....just wish I live nearer a coffee shop. Oh and have just scared Mr. Postman still in PJs at 11am and with a small person hanging off my hair. I am sure there are many people who could identify with me lol. 


My main sewing machine is back from being service and after 4 years of being abused all that was wrong was a bit had snapped off the bobbin cover, happy me.


Now the weddings over I can show off the something blue. 


This is the most useful thing I have made myself in ages. A sewing organiser :) 


And the dress for my sewing course is taking shape. The skirt has soooo much fabric in it, it's going to be amazing when it's finished, very swishy. 


Aaaaaaa turned my back on the computer and small has decided that I need more maths practise. Its all good, my house might be a mess, Squiggle might still be in her PJs, I might not have any bottles washed but I have tea and chocolate.


Friday, 20 February 2015

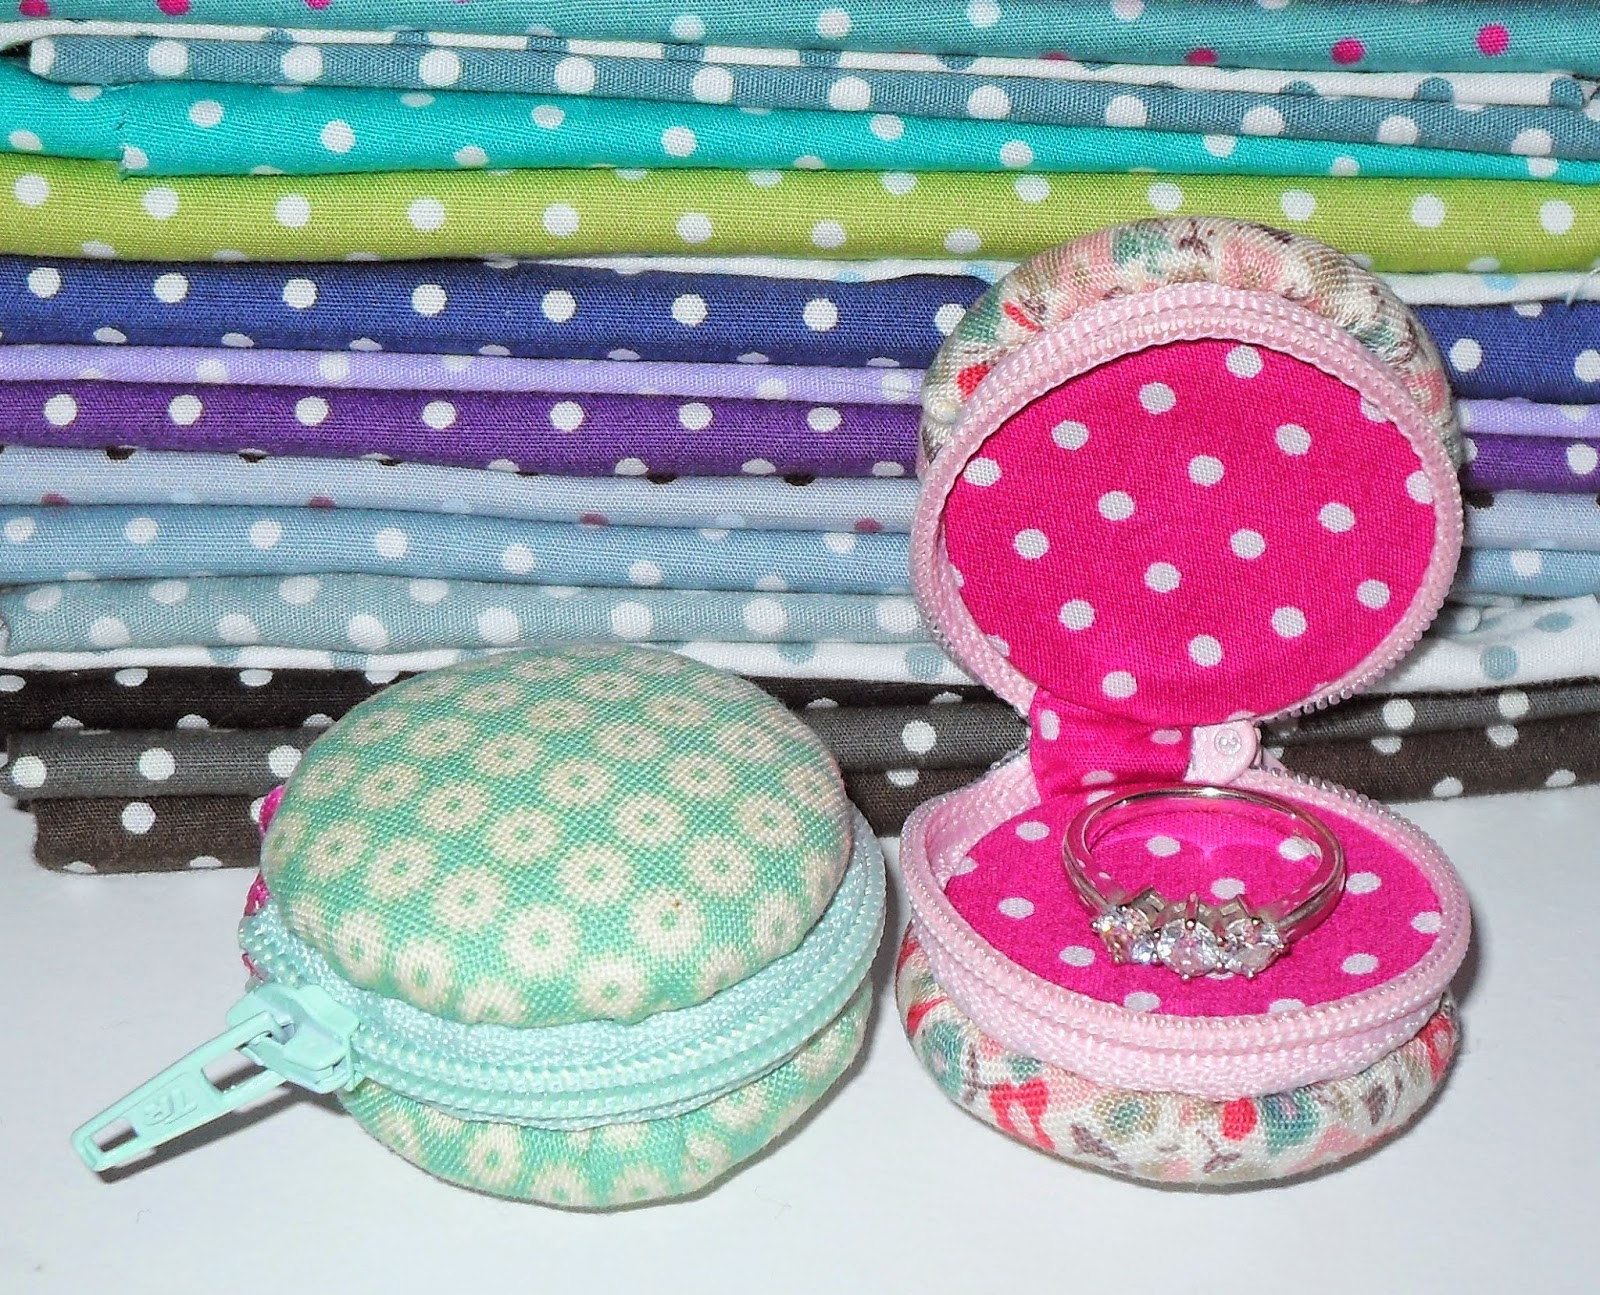
Macaroon coin purse

Hope everyone's having a great half term. We have been visiting family and friends in Eastbourne, been to a wonderful wedding and currently have all the our white goods in the living room while the kitchen floor is relayed. Have you ever had to keep an 11 month old off a sticky floor? No it's a nightmare!

Anyways today's tutorial is this cute little number, its a 2 parter this slightly impractical coin purse and a clasp coin purse coming soon. The macaroon coin purse holds a small amount of lose change or small jewellery, plus it's uber cute and so easy, it would make a nice project for a young sewer. I used to make these for family when I was younger, I suspect after the 4th one my Grandma was just humouring me but oh well.


The pink one is for my husbands Goddaughter, when we where visiting we took her and squiggle to the park and she lost her pennies. And silly me asked if she had a purse, the answer 'noooo can you make me one!!' Its a good things she's just as cute as squiggle and very cheeky. 

You will need... 
  • Fabric for your inner and outer 
  • 38mm coverable buttons, 2 for each macaroon, remove the button loop. 
  • 5 inch Zip or you can cut down a larger one
  • Felt or batting - I used felt
  • 1 and 1/2 inches of ribbon
  • Glue 
  • Cotton 
  • Some way to mark fabric - I use vanishing pens
One
Make 2 circle templates 2 and 3/4 inches and 2 inches in diameter. You need 2 of he larger circles in your outer fabric. 2 of each smaller in felt and inner fabric. Finally you will need 2 inch long bit of lining fabric made into binding thats 1/2 inches wide.


Two
Shortening your zip if needed. Measure 5 inches from the top of the zip and mark. Stitch over the zip at the 5 inch point to create a stopper.


Hopefully you can see the stopper.


Cut out the excess zip below the stopper. Finally shorten the taps at top and bottom to 1/2 inch. 


Three
Stick the felt to the inside of the larger circle and stitch a running stitch around all the circles. Put the 
buttons inside the circles and pull the running stitch tight and tie off. 


Four
Burn the ends of the ribbon to stop fraying. Fold in half and stitch to the bottom of the zip, so it looks like a tag.


Pin the zip right sides together (I find it easiest with the zip open a bit) and stitch the binding tap on the join. If the zip is the correct way around the binding should be on the inside, like the picture below.


Five
Using the running stitch again stitch around the zip and pull tight and tie off.


Six
Using slip stitches attach the button outers to the zip, do this with both outers. Remember how far away from the zip you stitch effects how deep your purse is. I left a bit more room in this one than the blue one so it can store more pennies.


Then do exactly the same with the inner circles.


And its done!! 


Showing off my spotty fabric collection, happy me. 


Sunday, 15 February 2015

Attaching sleeves to lined bodice

My little cutie needed a dress for her (soon to be, when her mother gets off her bum and organises it) godmother's wedding.


And she manages to be cute for pictures!!

I used Cottage Mamas free party dress pattern size 18 months but it is February so wanted to add sleeves. I really struggled to find a tutorial that attached sleeves to a lined bodice and I really like the idea of hiding all the naughty bits. Changes I made to the pattern where to replace buttons with a zip and removing the bottom band.

Now I will admit the final bodice was attempt 2, attempt 1 was thrown in the corner of my sewing room in disgust, and  I asked a friend with more experience for pointers. So I hope this tutorial helps someone else and less fabric gets wasted. 

One Stitch the shoulders of your bodice together for both your outer and lining fabric and press open your seams. 


Two You should have 2 sleeves, outer and lining of the bodice.
Prepare the sleeves by gathering the top if needed. Set your sewing machine to the highest tension and stitch length to the longest. And stitch 2 rows of straight stitching, leaving long ends and don't over stitch either end.

My seam allowance was 1/2 inch so both my gathering stitches where just inside this, pull on the ends and gather your sleeves.

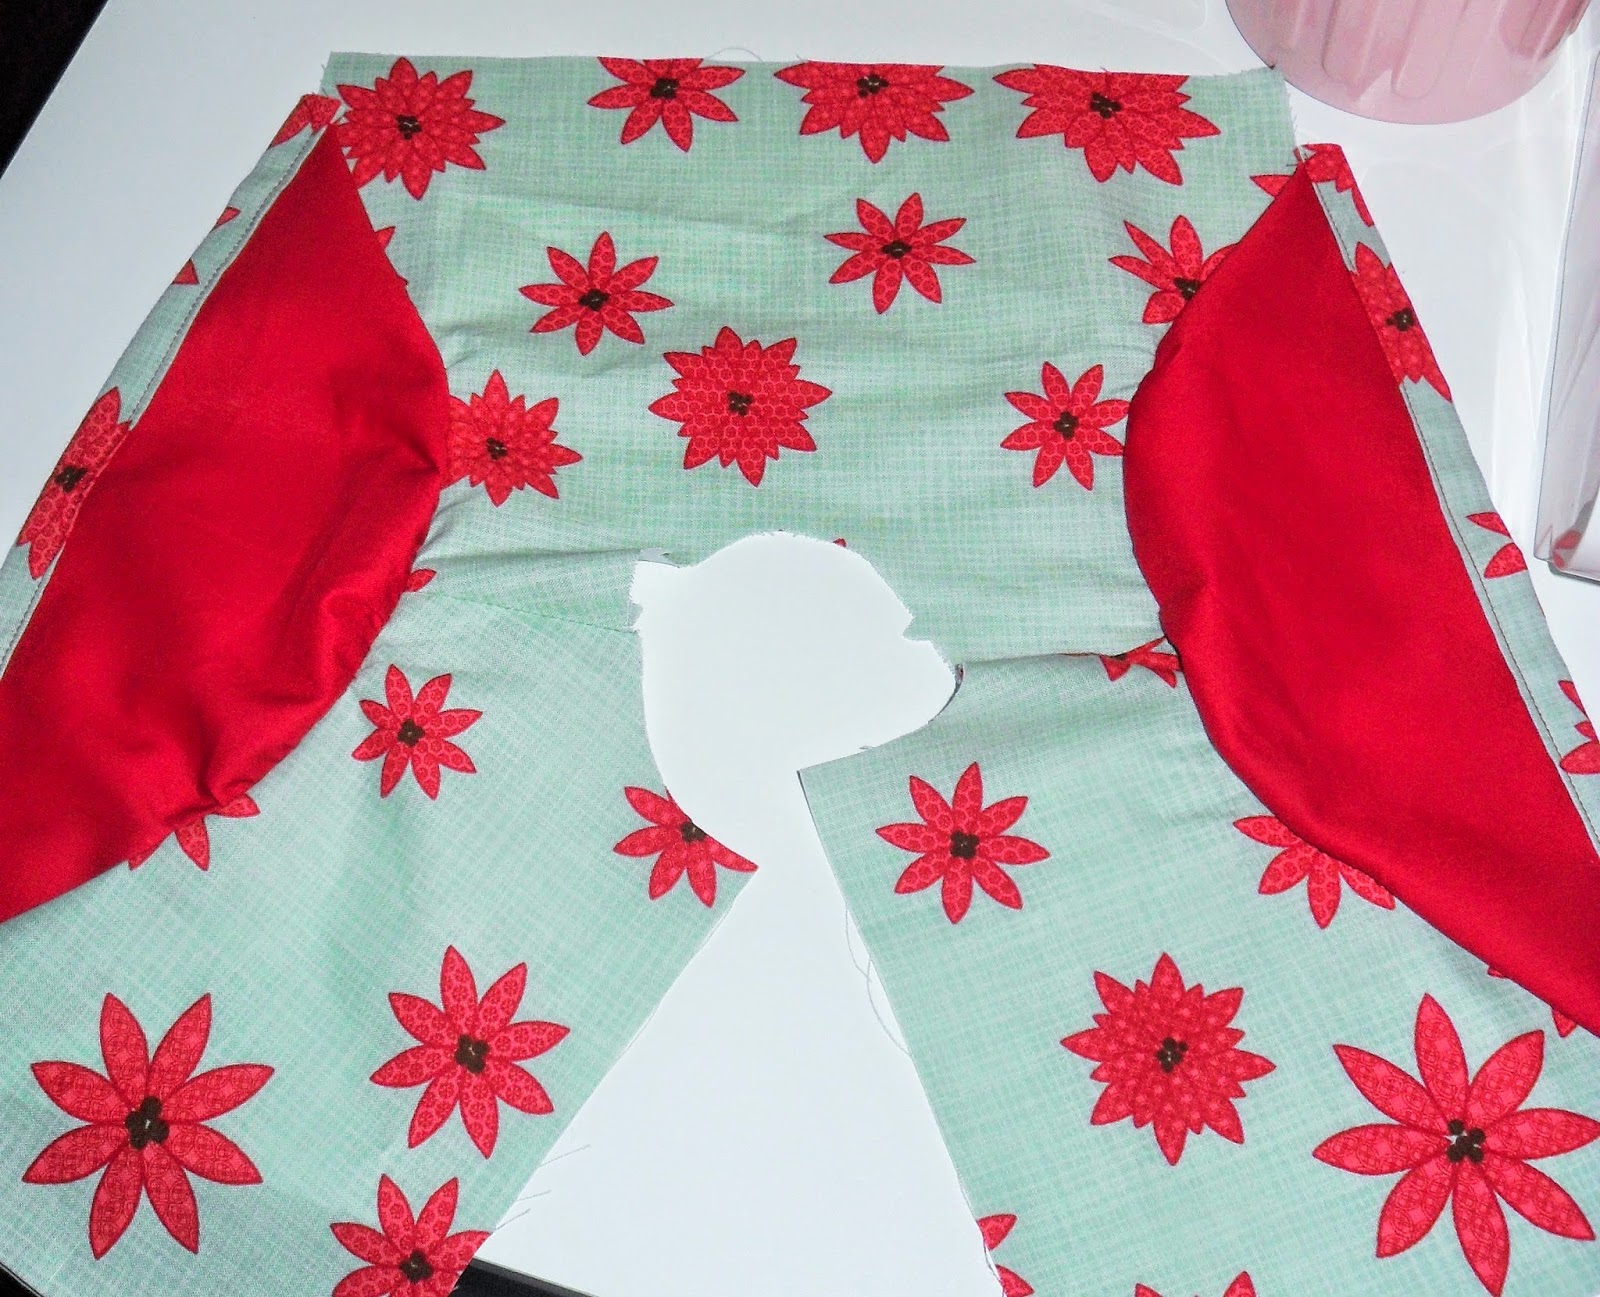
Three Pin your sleeves to the outer, right sides together. Leaving a gap at either end the same size as your seam allowance. Once attached your outer should look like this.


Four Pin your lining to the front and stitch around your arm holes leaving your seam allowance at either end, also stitch around the neckline. It looks a little bulky because of the sleeves but be careful not to catch the sleeves in the neckline, armholes or back.


I'm putting an invisible zip into this dress so have left the back open. Notch or clip around your seams and turn them through the shoulders. Press the bodice till you are happy, if it doesn't look right take more bulk out of your seams. 

Five Sew the sleeves into a tube right sides together, you can use a French seam is you want them to be tidier. I stitch mine together and then zigzagged along the seam.

Six To close up the underarm, match up the lining and outer and sew the opening closed. Notch the seams and press open and follow the rest of the pattern instructions. 


And voilĂ  you have a beautiful dress. Please post pictures of your finished dress so I can see your pretties :).  


Sunday, 8 February 2015

A quick catch up

Squiggly got her first bit of fancy dress!! I know shocking she made it to 10 and half months before happened!! 


My little Alice. I will manage to get a piccy of her in it soon. 

Also This week has been a bit manic in the sewing room with a last minute large order for fabric covered mirrors. 3 days and 60 mirrors to be machine embroidered and a snotty child. 


I am now 4 weeks through a 10 week dress making course. I need to learn how to follow a traditional pattern, I might have been shown at school but I can't for the life of me remember any of it. 


This gorgeous dress is the poor pattern I'm using. I might have made a mistake with my first grown up dress because there seems to have 100s of pieces. But how beautiful is the fabric I'm using??


I can't wait for it to be finish and I can twirl in it. 

While I was fabric shopping this fell into my shopping basket, don't know how it happened. 


Apparently this is a Christmas fabric, I can't see it personally. It's going to become another squiggles dress, spoilt girl, with a red sash for a wedding we are going to next weekend. 

Wishing everyone a wonderful week and happy sewing. 
Xxx