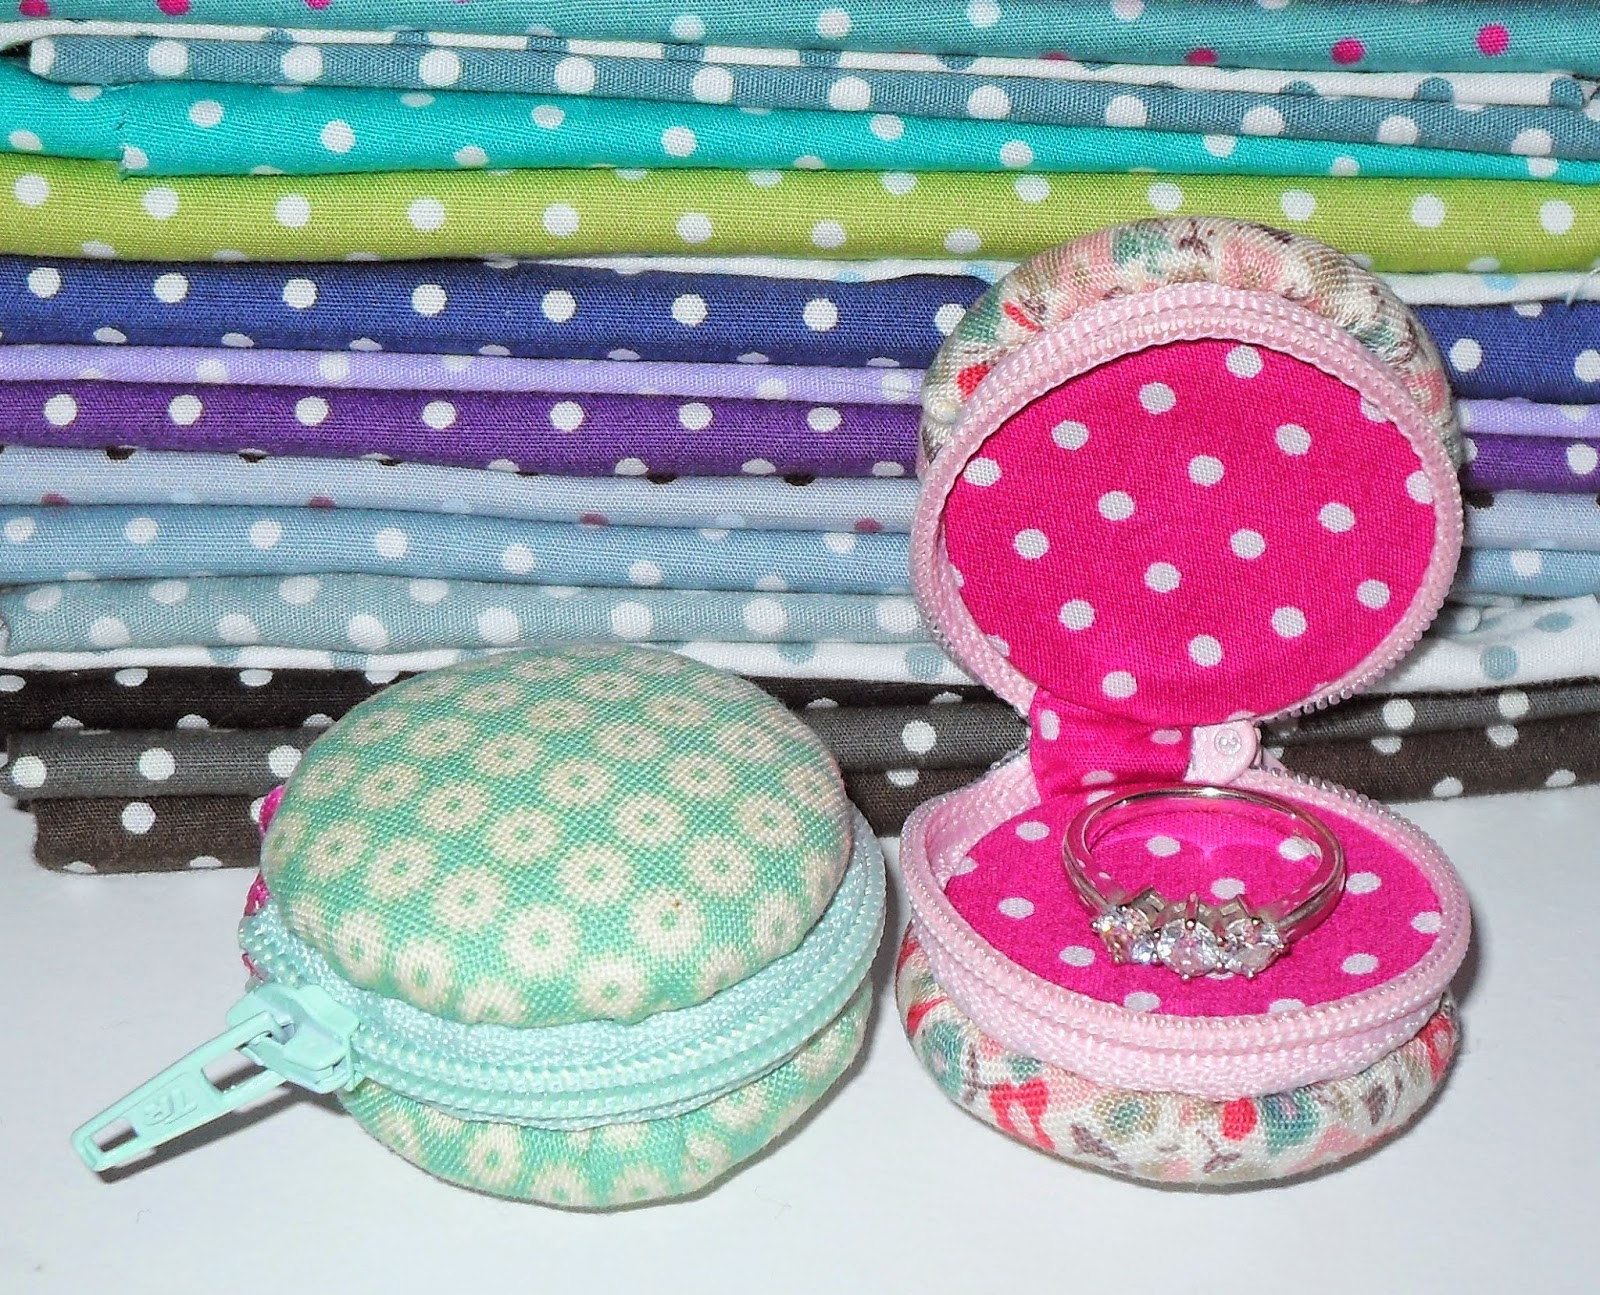
Anyways today's tutorial is this cute little number, its a 2 parter this slightly impractical coin purse and a clasp coin purse coming soon. The macaroon coin purse holds a small amount of lose change or small jewellery, plus it's uber cute and so easy, it would make a nice project for a young sewer. I used to make these for family when I was younger, I suspect after the 4th one my Grandma was just humouring me but oh well.
The pink one is for my husbands Goddaughter, when we where visiting we took her and squiggle to the park and she lost her pennies. And silly me asked if she had a purse, the answer 'noooo can you make me one!!' Its a good things she's just as cute as squiggle and very cheeky.
You will need...
One
Make 2 circle templates 2 and 3/4 inches and 2 inches in diameter. You need 2 of he larger circles in your outer fabric. 2 of each smaller in felt and inner fabric. Finally you will need 2 inch long bit of lining fabric made into binding thats 1/2 inches wide.
Two
 Shortening your zip if needed. Measure 5 inches from the top of the zip and mark. Stitch over the zip at the 5 inch point to create a stopper.

Hopefully you can see the stopper.
Four
Burn the ends of the ribbon to stop fraying. Fold in half and stitch to the bottom of the zip, so it looks like a tag.
Pin the zip right sides together (I find it easiest with the zip open a bit) and stitch the binding tap on the join. If the zip is the correct way around the binding should be on the inside, like the picture below.

Five
Using the running stitch again stitch around the zip and pull tight and tie off.
Six
Using slip stitches attach the button outers to the zip, do this with both outers. Remember how far away from the zip you stitch effects how deep your purse is. I left a bit more room in this one than the blue one so it can store more pennies.
Then do exactly the same with the inner circles.
Make 2 circle templates 2 and 3/4 inches and 2 inches in diameter. You need 2 of he larger circles in your outer fabric. 2 of each smaller in felt and inner fabric. Finally you will need 2 inch long bit of lining fabric made into binding thats 1/2 inches wide.
Two
 Shortening your zip if needed. Measure 5 inches from the top of the zip and mark. Stitch over the zip at the 5 inch point to create a stopper.
Hopefully you can see the stopper.
Three
Stick the felt to the inside of the larger circle and stitch a running stitch around all the circles. Put the
buttons inside the circles and pull the running stitch tight and tie off.
Four
Burn the ends of the ribbon to stop fraying. Fold in half and stitch to the bottom of the zip, so it looks like a tag.

Five
Using the running stitch again stitch around the zip and pull tight and tie off.
Six
Using slip stitches attach the button outers to the zip, do this with both outers. Remember how far away from the zip you stitch effects how deep your purse is. I left a bit more room in this one than the blue one so it can store more pennies.
Then do exactly the same with the inner circles.
And its done!!
Showing off my spotty fabric collection, happy me.

.JPG)


No comments:
Post a Comment