Sunday, 29 March 2015

Fabric phone wallet

For Christmas this year I bought the man a phone wallet case for when he goes away on exercise (oh the joys of being a military wife you start to use the lingo) so he didn't have to take his wallet and his phone had a bit more padding. Well it was a major success and is lasting very well, but I bought myself one and it was rubbish lasted a month and a half. But in that short time it changed my life, sounds over dramatic but I always forgot my purse, when we went out as a family he always had his wallet so I never remembered it. Now I decided that I would try making one, I found this tutorial on Pinterest but it didn't fit my requirement so time to make my own.


In the template I have included 3 ideas for the flap but get adventurous, what about elastic with a ruffle on or a button with a loop. This template is for an iphone 5 but can adjusted easily.

What you need...
  • Fabric as many as you fancy I used 2. 
  • Heavy iron on interfacing 
  • Magnetic purse clasp
  • Cheap plastic phone case
  • Strong glue...I used araldite 
  • Coordinating embroidery floss
  • Template 
Fabric to be cut out...
  • 2 pieces for fabric and interfacing  6.5 x 6 inches 
  • Back of the card holder and interfacing 6.5 x 3.5 inches
  • 3 pockets 3 x 3.5 inches
  • 2 fabric and interfacing for flap/clasp 
* these measurements all include seam allowance, seam allowance is not included in template 

One
Iron on all the interfacing, I also added thin interfacing to the top of the pockets, for a bit of extra support.
Fold over the tops of the 3 pockets by 1/4 inch and stitch.


Two 
Place the first pocket 1 inch down from the top of template and stitch 2.5 inches down from the top of the pocket (if this isn't clear look at measurements on template). 3/4 inches down from first pocket add the second pocket and stitch along the bottom 2.5 inches from the top of the pocket. Repeat for 3rd pocket but DO NOT stitch.

HINT - Transfer all measurements from template onto inside fabric using a vanishing pen or something similar. 


Three
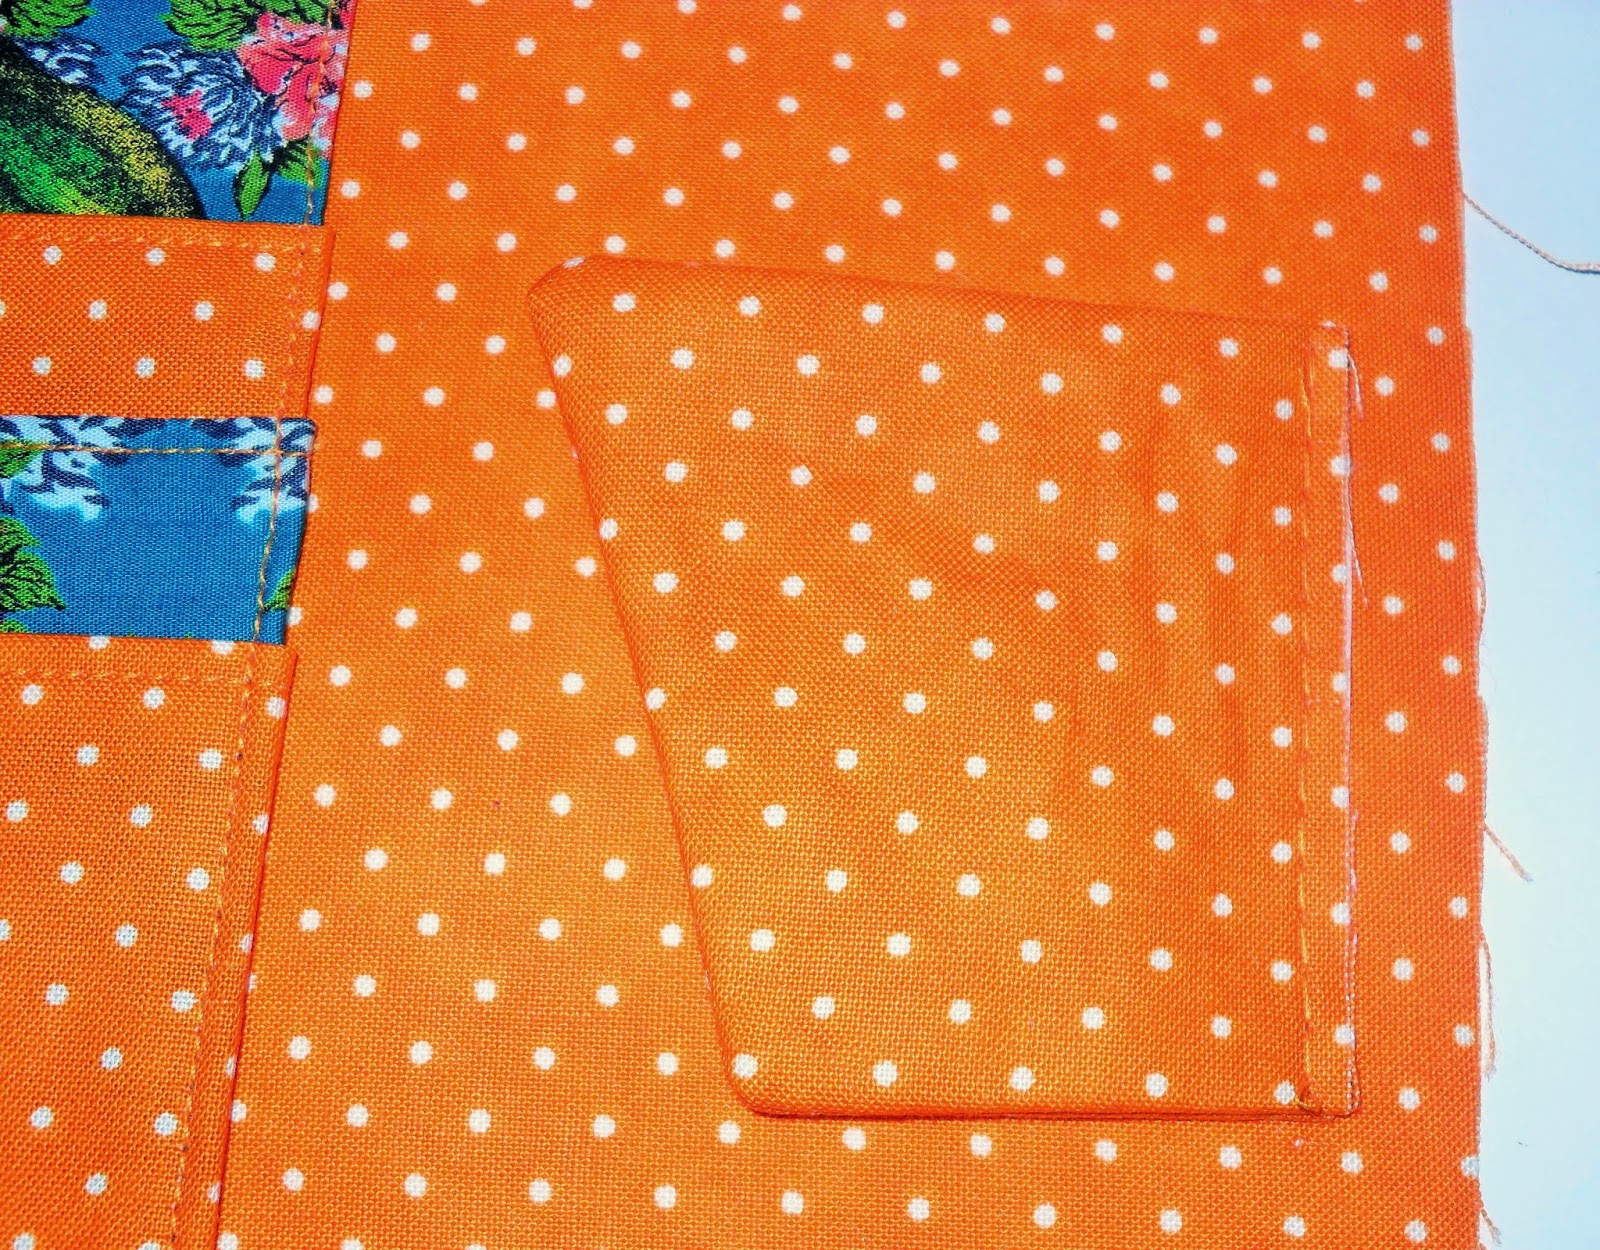
Fold and press under the right side of the pockets by 1/4 inch then stitch down the side.


Once stitched trim off the excess for things don't get court under it.


Four
To make the flap stitch 2 pieces of fabric together using what ever design you want. Clip the edges, fold out and press. If you place your flap on the inner fabric as shown the side facing in is the side that the clasp needs to be attached to. For my clasp I just need to make 2 small holes in the fabric.


Five
Baste the pocket and flap to the inside fabric in the seam allowance (basting means set your stitch to its longest length and sew, meaning the stitches are easy to remove).


Six
Put the thicker side of the clasp on the outside of the fabric (if you place the inside and outside fabric next to each other both sides of the clasps will be on the same side, mine is right side).


Seven 
With right sides of the fabric together stitch around leave a gap so it can be turned the right way around. Clip around the edge, turn out and press. 


Eight
Hand stitch the gap closed and we are ready to play with glue...


Nine
Stick on the phone case and allow to dry. Finally cut around the hole for the camera and stitch around with coordinating embroidery floss.


And you have a phone wallet that's totally your own.


Tuesday, 24 March 2015

Baby lion plushie

So it's baby time of year and I have a few friends due to have babies soon. So it is time to make a few handmade gifts to go along with the normal new baby gifts.


Now I came across an amazing little trick recently, on my wanders around Pinterest (might be a bit of an obsession).

The crinkle in kids toys can be made using the bag that cereal comes in. Amazing!! Well it can be made using anything that crinkles...biscuits packets, crisps packets etc. But cereal bags are the best because there white.

What a horrible face small is pulling!?!? and in her Christmas PJs.

You will need....
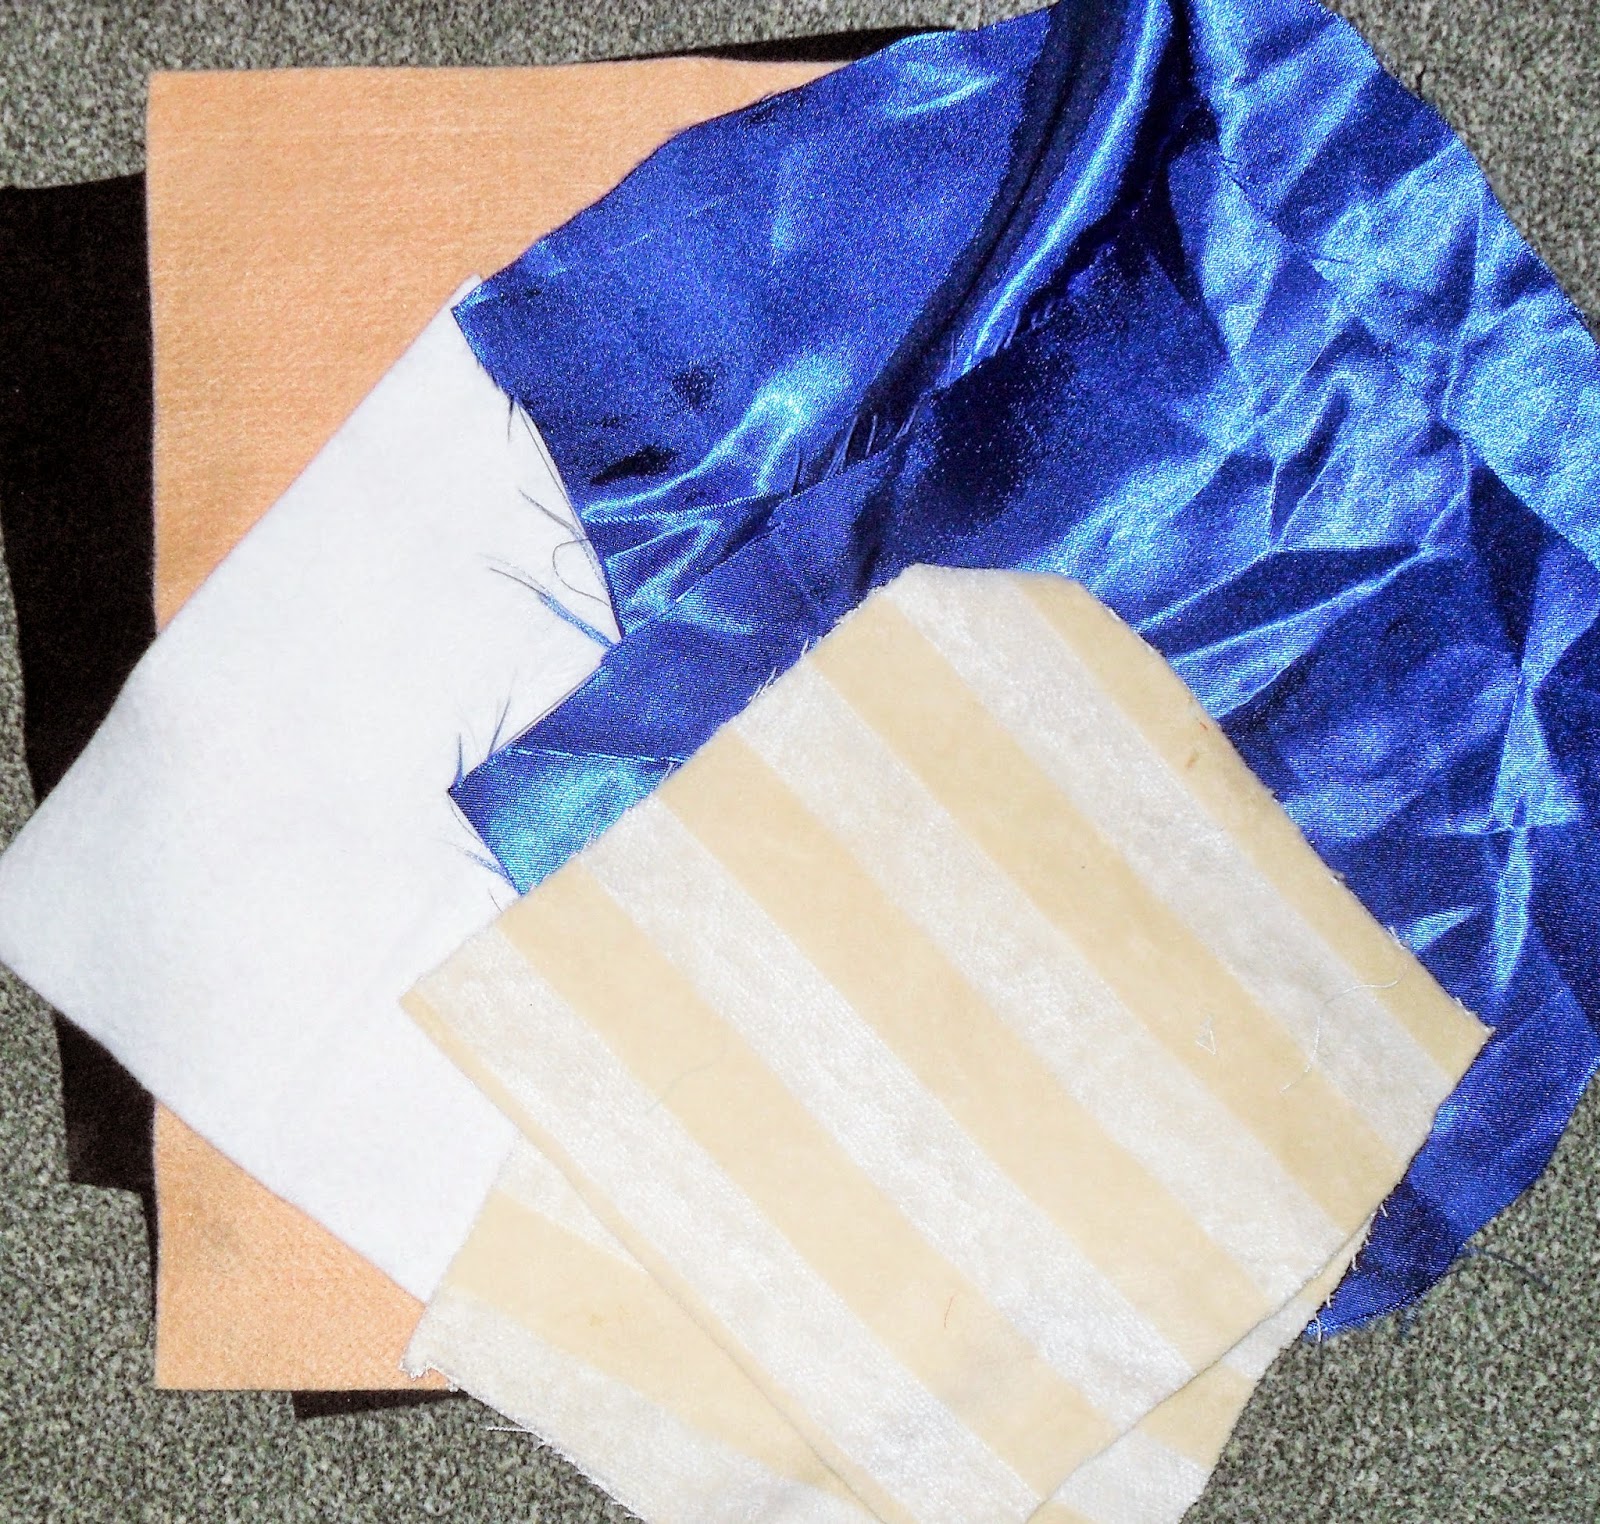
Some lovely feeling fabric for the face  
Something shinny for the mane 
Felt for the face
Toy stuffing 
Crinkly plastic
Cotton 

**please remember who this is for so don't cover in buttons, leave loose bits etc.**

One 
Print and cut out your template. Cut out the faces once and eyes, nose and whisker spots. Cut 2 squares of the mane fabric and 1 of the crinkle slightly larger than the whole of the lion face. 

I love making things for children because you don't need to get the colours right....blue mane here we come. 

Two 
Sew on the face features, either by machine or by hand or as I have done half and half. 

Three 
Stitch around the mane with the fabrics right side together and the crinkle on top. Leave a gap so you can turn it out.


Cut off the excess fabric and slit in every dip to make it turn smother, do not cut the stitching. Turn it out and press using a bit of fabric between it and the iron. Stitch close the gap.


Four 
Stitch around the face on the mane front leave a gap so it can be stuffed. Stuff it and close up.


And it's all finished one nice easy little tutorial.


Although this lovely makes a lovely lion you can draw whatever animal or shape you want and make it. Isn't that lovely. 

Here are a few of my favourites children toy tutorials.... 


Sunday, 15 March 2015

Rainbow Circle Dress using a T-shirt

Today is smalls birthday and Mothering Sunday so Daddy has to wait on us hand and foot, we are definitely spoilt today. 

Isn't it very annoying when you buy clothing a few sizes up and it gets to wearing time, you pre-wash them and they shrink...then you cant find the receipt or remember where they are from. So sewing machine to the rescue. 


Plus little monster needs more dresses, don't know how she grows to quickly! I'm afraid I haven't got any pictures of her wearing it because Squiggle has been renamed Miss Dot-to-dot, got to love chicken pox. 

What you will need.... 
 
  • T-shirt
  • 2 types of fabric 
  • One pair of jeans (or 3 types of fabric)
  • Large sheet of paper or lots stuck together
One
First make a template for a circular skirt. I used a variation of this fabulous tutorial
My Maths (who though you would need an A-level in maths for sewing) measure the waste of your child, Squiggles is 20 inches. Add 6 inches to your waist measurement (for the gathering) and divide it by 6.28.
In my case 
(20+6) / 6.28 = 4.14 inches.

Following the instructions from the tutorial, measure down your length on your paper, and using either a protractor or string tied to a pencil draw a 1/4 circle. 


Measure from about 1 inch under your child's arm pit to your desired length, Squiggles was 11.5 inches, and add 1.5 inches for the hem and join. Measure from your previous 1/4 circle down by your length and draw another 1/4 circle. 


Its massive the smaller template is standard size I made a few months ago. This skirt is going to be lovely to twirl in.


Fold the template into 3 with 1 larger and 2 smaller and of even size. Cut your template into 3 and we are ready to go. 


Two
Time to start cutting out the skirt. You will need 4 of each of the 3 fabrics, remember there is no seam allowance on the sides just the top and bottom so add 1/2 inches to each side. 


When the cutting out is done you should have something that looks like this, lovely fabric, the checked are my largest section. 


This is what left of the jeans hahaha perfect for the summer!!


Three
Attach the pieces together with a 1/2 inch seam and then zigzag the edges.


So that 1/4 of the skirt looks like this. Repeat till the whole circle is completed.  


I think it looks very pretty maybe I need to make a floor pillow like this soon.


Four
Cut your t-shirt at 2 inches below the arm hole. Loving the fact my t-shirt has strips made life so much easier.


Five
Gathering - set your sewing machine to its longest stitch and tension to its highest positive (mines +3) then stitch 2 rows around your skirt. Don't over stitch the ends and leave long ends.


Matching up the t-shirts seams to the skirt and pin together on either side. Using the t-shirt side as a size guide pull on the bobbing threads to gather the skirt.


Once your happy with the gather pin the top and skirt together and stitch at 1/2 seam line. You might need to remove the gathering stitches once stitched.


Six
Fold the top over the join by 1/2 inches and stitch though all layers so make a pleat.


Seven 
Hemming - Because of the bulk of the denim I didn't use an enclosed hem just zigzag edged the skirt folded it over and double stitched it. 


And we have a finished dress with a pleat at the waist and and circle skirt.


Now I have to think of things to do with the other 2 t-shirts....