

In the template I have included 3 ideas for the flap but get adventurous, what about elastic with a ruffle on or a button with a loop. This template is for an iphone 5 but can adjusted easily.
What you need...

One
Iron on all the interfacing, I also added thin interfacing to the top of the pockets, for a bit of extra support.
Fold over the tops of the 3 pockets by 1/4 inch and stitch.

Two
Place the first pocket 1 inch down from the top of template and stitch 2.5 inches down from the top of the pocket (if this isn't clear look at measurements on template). 3/4 inches down from first pocket add the second pocket and stitch along the bottom 2.5 inches from the top of the pocket. Repeat for 3rd pocket but DO NOT stitch.
HINT - Transfer all measurements from template onto inside fabric using a vanishing pen or something similar.


Three
Fold and press under the right side of the pockets by 1/4 inch then stitch down the side.


Once stitched trim off the excess for things don't get court under it.

Four
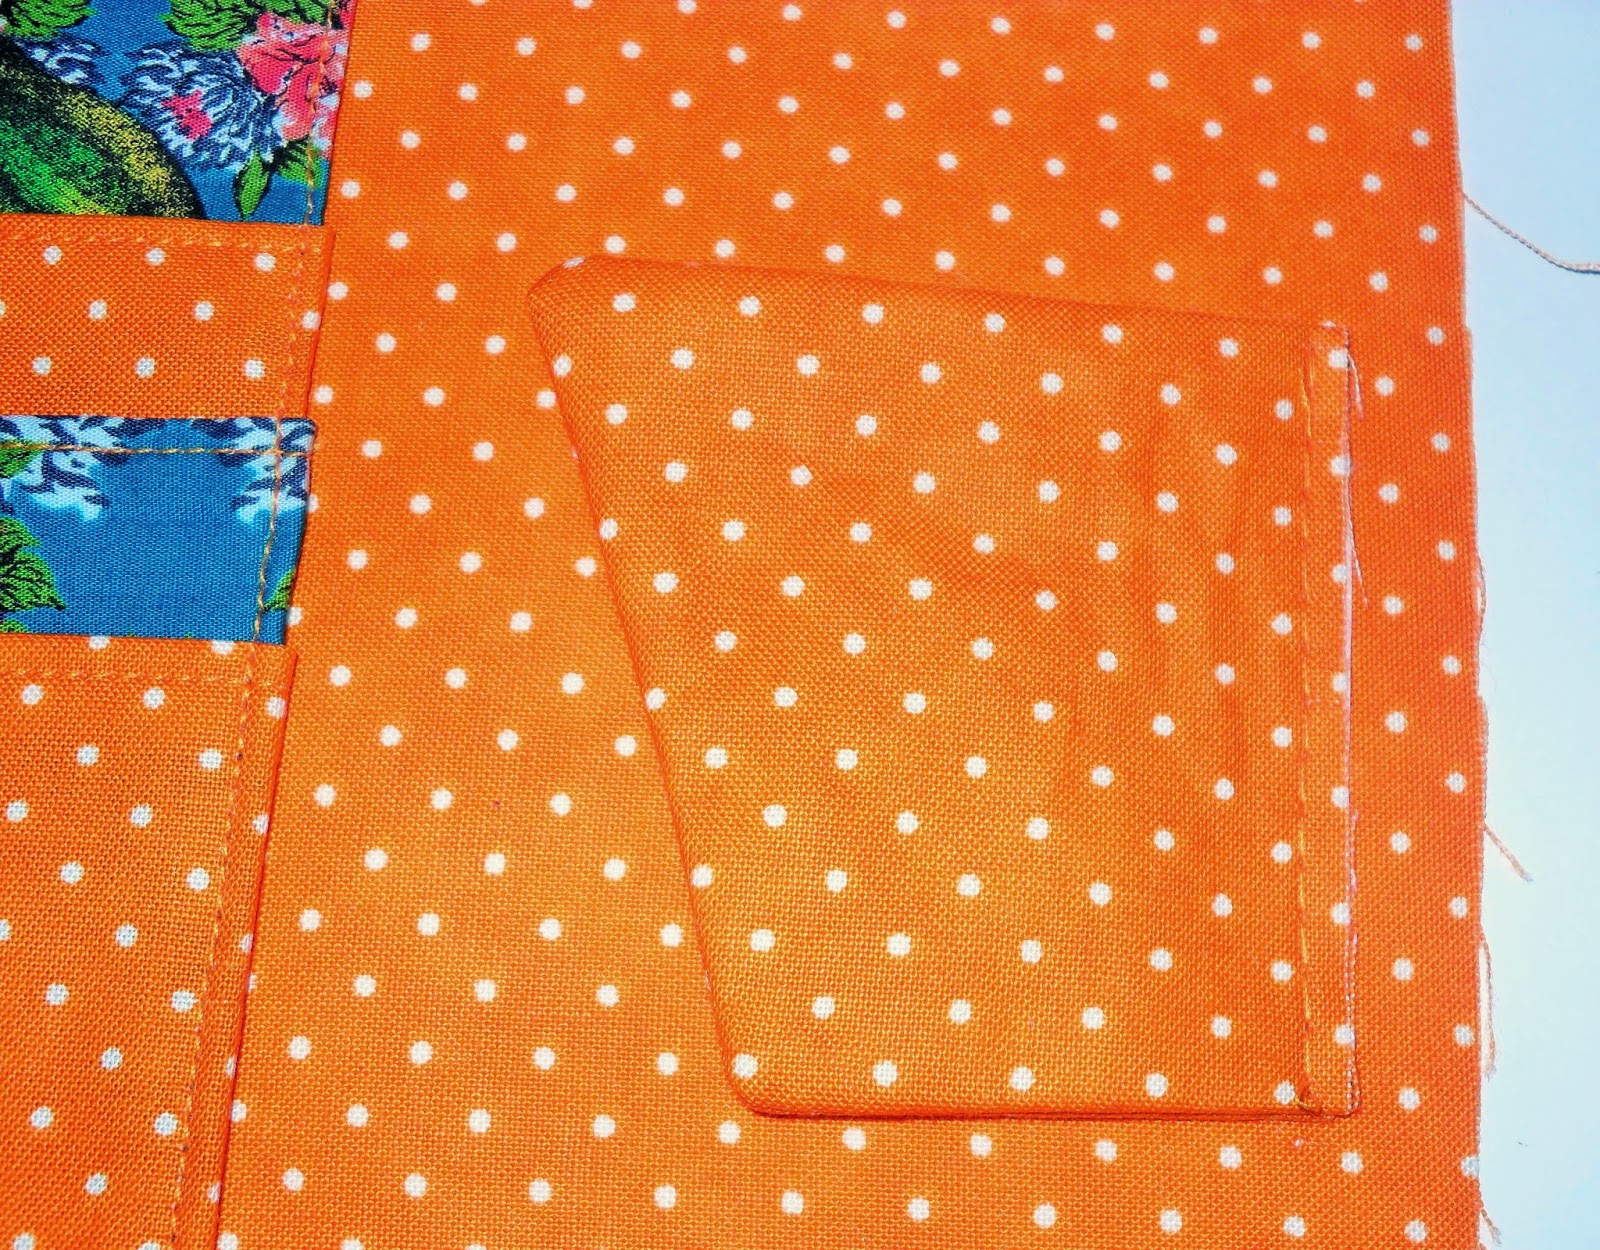
To make the flap stitch 2 pieces of fabric together using what ever design you want. Clip the edges, fold out and press. If you place your flap on the inner fabric as shown the side facing in is the side that the clasp needs to be attached to. For my clasp I just need to make 2 small holes in the fabric.

Five
Baste the pocket and flap to the inside fabric in the seam allowance (basting means set your stitch to its longest length and sew, meaning the stitches are easy to remove).


Nine
Stick on the phone case and allow to dry. Finally cut around the hole for the camera and stitch around with coordinating embroidery floss.


- Fabric as many as you fancy I used 2.
- Heavy iron on interfacing
- Magnetic purse clasp
- Cheap plastic phone case
- Strong glue...I used araldite
- Coordinating embroidery floss
- Template
Fabric to be cut out...
- 2 pieces for fabric and interfacing 6.5 x 6 inches
- Back of the card holder and interfacing 6.5 x 3.5 inches
- 3 pockets 3 x 3.5 inches
- 2 fabric and interfacing for flap/clasp
* these measurements all include seam allowance, seam allowance is not included in template
Iron on all the interfacing, I also added thin interfacing to the top of the pockets, for a bit of extra support.
Fold over the tops of the 3 pockets by 1/4 inch and stitch.
Two
Place the first pocket 1 inch down from the top of template and stitch 2.5 inches down from the top of the pocket (if this isn't clear look at measurements on template). 3/4 inches down from first pocket add the second pocket and stitch along the bottom 2.5 inches from the top of the pocket. Repeat for 3rd pocket but DO NOT stitch.
HINT - Transfer all measurements from template onto inside fabric using a vanishing pen or something similar.
Three
Fold and press under the right side of the pockets by 1/4 inch then stitch down the side.
Once stitched trim off the excess for things don't get court under it.
Four
To make the flap stitch 2 pieces of fabric together using what ever design you want. Clip the edges, fold out and press. If you place your flap on the inner fabric as shown the side facing in is the side that the clasp needs to be attached to. For my clasp I just need to make 2 small holes in the fabric.
Five
Baste the pocket and flap to the inside fabric in the seam allowance (basting means set your stitch to its longest length and sew, meaning the stitches are easy to remove).
Six
Put the thicker side of the clasp on the outside of the fabric (if you place the inside and outside fabric next to each other both sides of the clasps will be on the same side, mine is right side).
Seven
With right sides of the fabric together stitch around leave a gap so it can be turned the right way around. Clip around the edge, turn out and press.
Eight
Hand stitch the gap closed and we are ready to play with glue...
Nine
Stick on the phone case and allow to dry. Finally cut around the hole for the camera and stitch around with coordinating embroidery floss.

And you have a phone wallet that's totally your own.
No comments:
Post a Comment