Now I will give you squiggle is tall (91st percentile) but she's only average weight. Anyway so I have been making her dresses. And here is a lovely simple one.
Heres the up-cycling bit making it nice and cheap. I am using a pair of mens suit trousers which I have washed and tumble dried so there is no shrinkage later.
You will need...
You fabric or trousers
Fabric for contrast
Buttons
Thin elastic or ribbon
Sewing equipment
One
I created an a-line dress pattern using one of squiggles t-shirts or use a bought pattern.
This is how I draft mine.
You need...
A t-shirt that fits her well
Some drafting paper (I use supermarket own grease proof paper, it's see through and can be ironed)
Pins
Ruler
Cutting mat
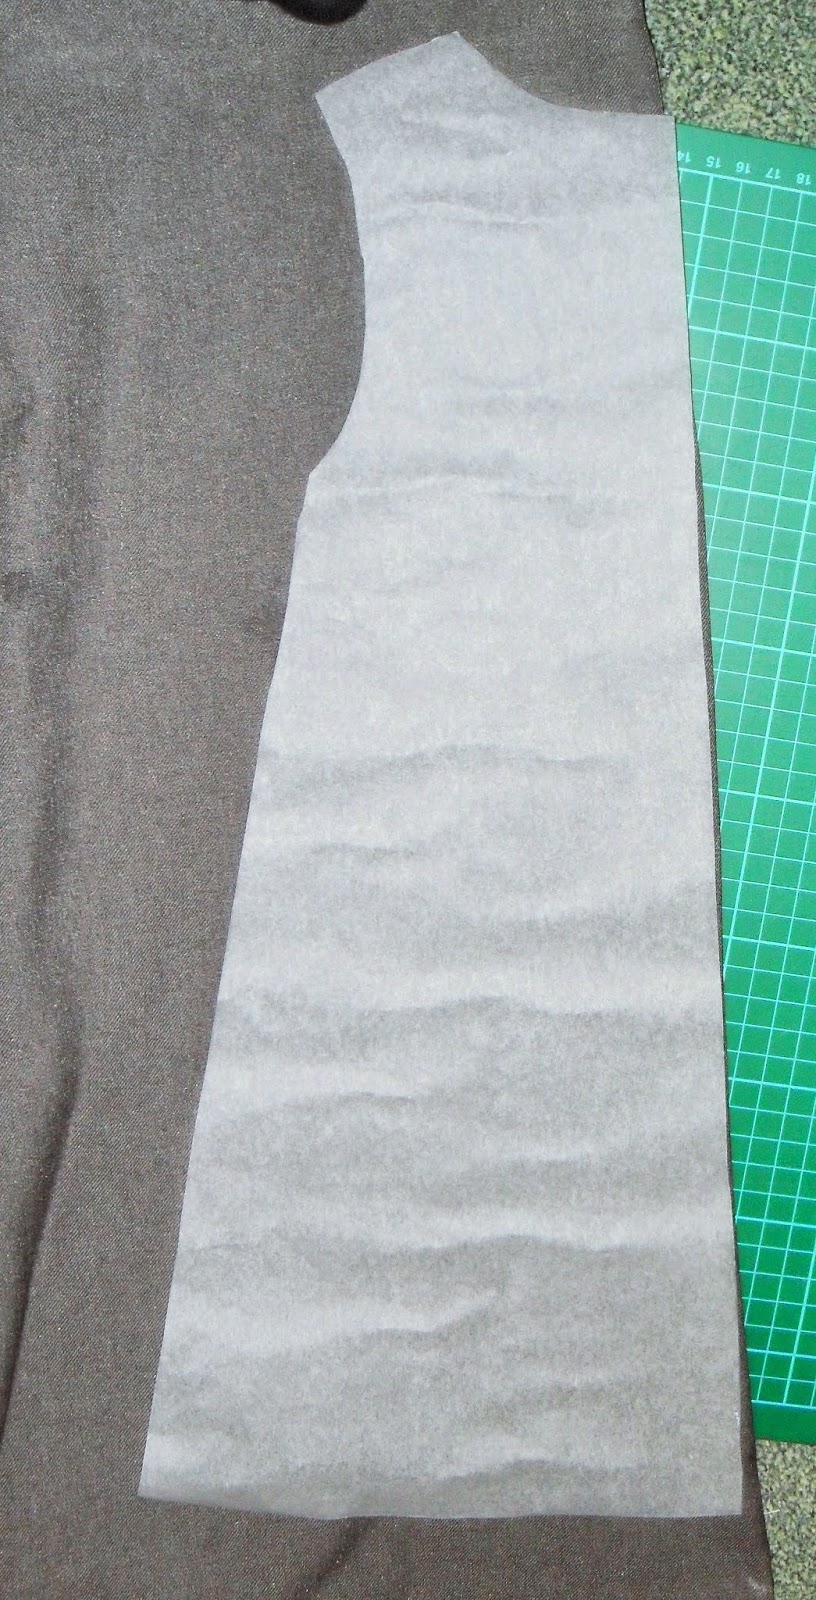
Fold a t-shirt in half and place on the grease proof paper on top of your cutting mat. Then stick pin into all the key points around your t-shirt. Make sure you put a few pins along the curves so they are easy to follow. Then take your t-shirt off and draw in your pattern following the in holes. Finally extend the bottom of the t-shirt to dress length, or use an existing dresses length.
Two
Place your dress on the fold of your fabric and cut it out. DON'T FORGET THE SEAM ALLOWANCE. One for the front and one for the back, you will know the difference because the front is lower.
Three
Then using arm holes to sketch out a sleeve pattern and measure the length of your t-shirt to get the length of sleeve pattern.
Cut the 2 arms on the fold.
Cut the 2 arms on the fold.
Four
now you should have a front and back and 2 sleeves (you will need to cut out pockets later so don't throw away your extra fabric). I zigzagged around all my pieces, except the back, as they are all ready fraying.
Five
Split down the seam on the back piece about 3 and 1/2 inches. Make sure you stitch over the bottom as it doesn't carry on splinting. you will need 2 inches of thin elastic or ribbon (use more for a larger button). Stitch it into the split about 1 inch from the top and top stitch down both sides.
Six
Pin the shoulders of the front and back together right sides together. Then stitch them together and zigzag back over the edging.
The easiest why to bind is to open the binding and stitch along the fold at the edge of the fabric, fold over and catch the underside with a stitch.

Finally sew a gathering stitch around the sides and bottom. Pull gently and gather so that the raw edges pull under. Press with an iron.
Nine
Pin your pockets to your dress and sew on. I used a contrasting colour.
Ten
Attaching the sleeves, I find the middle of the sleeve and match it with the seam on the shoulder. Then pin out each side from the centre. Stitch the sleeves in then zigzag the seam.
So you should look something like this.
Eleven
Five
Split down the seam on the back piece about 3 and 1/2 inches. Make sure you stitch over the bottom as it doesn't carry on splinting. you will need 2 inches of thin elastic or ribbon (use more for a larger button). Stitch it into the split about 1 inch from the top and top stitch down both sides.
Pin the shoulders of the front and back together right sides together. Then stitch them together and zigzag back over the edging.
I have no idea why this pictures all fuzzy I am sorry.
Seven
And attach is to your neck line and both sleeves, You will need some binding for the pockets later.The easiest why to bind is to open the binding and stitch along the fold at the edge of the fabric, fold over and catch the underside with a stitch.

Eight
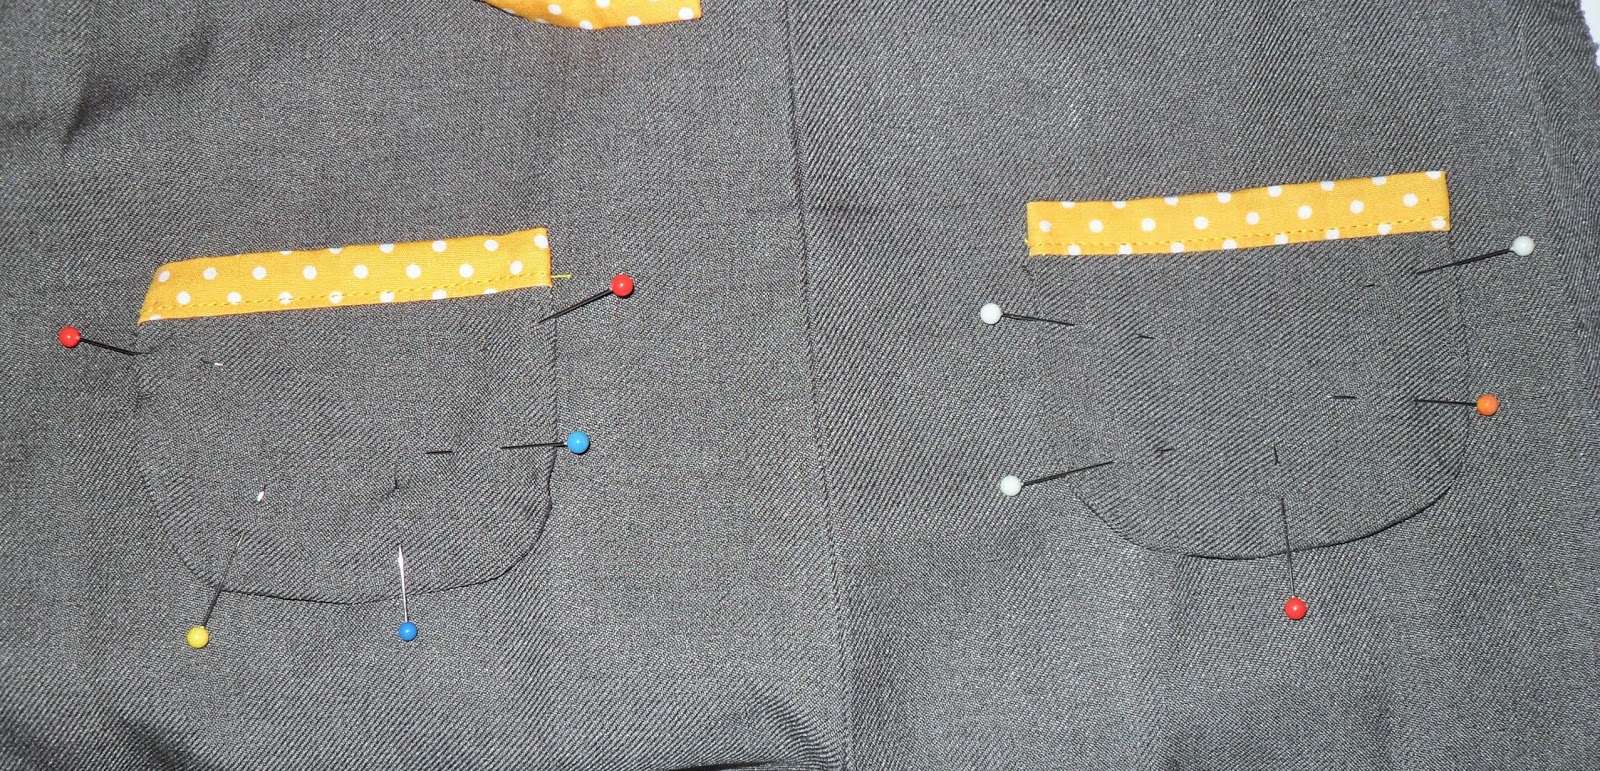
Make yourself a template for the pockets and cut out, remembering your seam allowance, and edge them. Add binding to the top of each pocket.Finally sew a gathering stitch around the sides and bottom. Pull gently and gather so that the raw edges pull under. Press with an iron.
Nine
Pin your pockets to your dress and sew on. I used a contrasting colour.
Ten
Attaching the sleeves, I find the middle of the sleeve and match it with the seam on the shoulder. Then pin out each side from the centre. Stitch the sleeves in then zigzag the seam.
So you should look something like this.
Again I don't know what my camera was doing. Anyway pin up your seams starting from the armpit (so you can line up the arm seams). Sew closed I start at the bottom and stop with the needle in the fabric at the arm pit, change direction and see along the arm.
Finally tidy up and you may have guessed it zigzag.
Twelve
Attach your button of choice on the back.


No comments:
Post a Comment