Showing posts with label Baby. Show all posts

Tuesday, 24 March 2015

Baby lion plushie

So it's baby time of year and I have a few friends due to have babies soon. So it is time to make a few handmade gifts to go along with the normal new baby gifts.


Now I came across an amazing little trick recently, on my wanders around Pinterest (might be a bit of an obsession).

The crinkle in kids toys can be made using the bag that cereal comes in. Amazing!! Well it can be made using anything that crinkles...biscuits packets, crisps packets etc. But cereal bags are the best because there white.

What a horrible face small is pulling!?!? and in her Christmas PJs.
You will need....
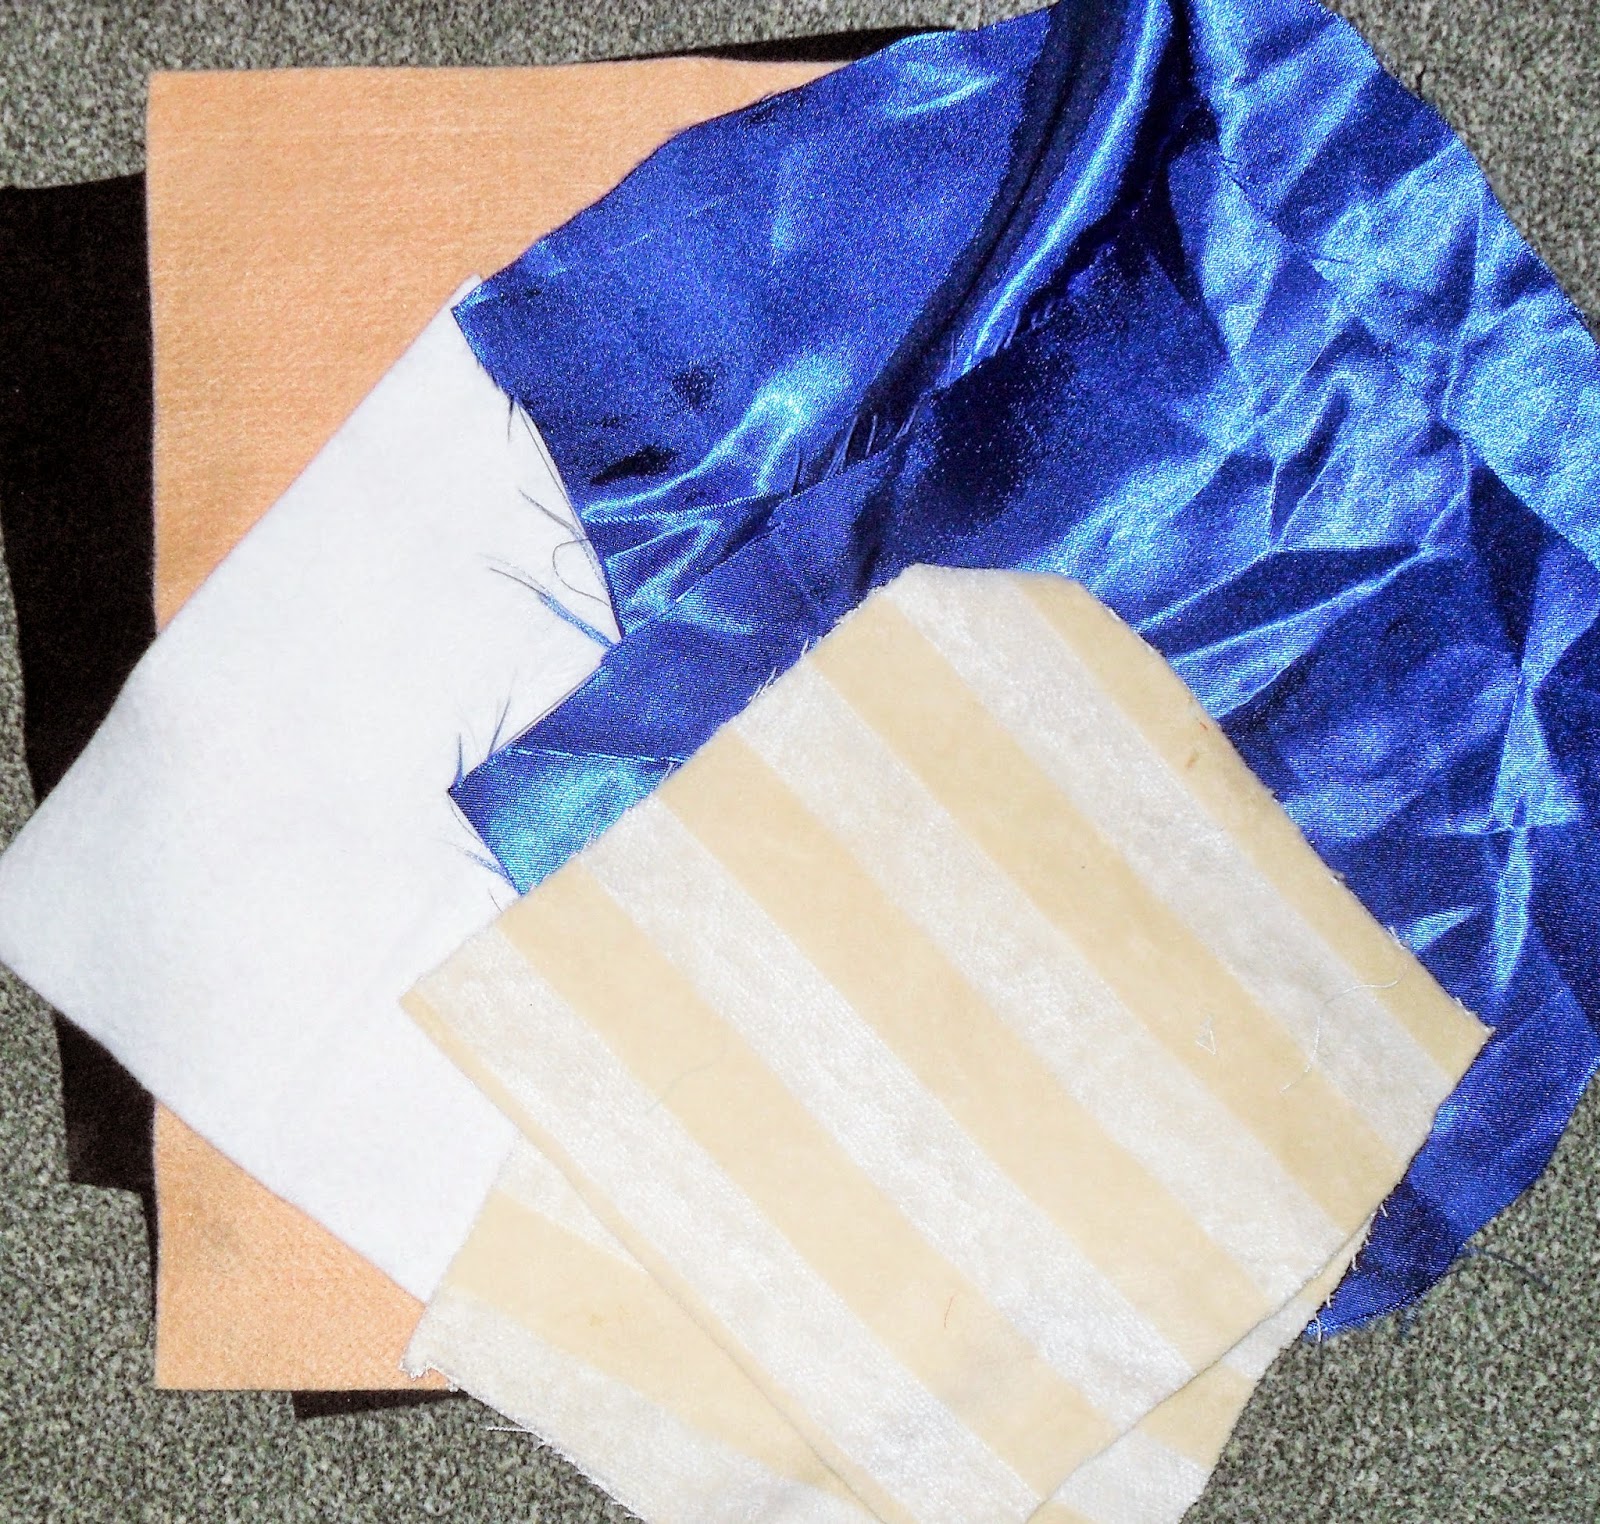
Some lovely feeling fabric for the face  
Something shinny for the mane 
Felt for the face
Toy stuffing 
Crinkly plastic
Cotton 

**please remember who this is for so don't cover in buttons, leave loose bits etc.**

One 
Print and cut out your template. Cut out the faces once and eyes, nose and whisker spots. Cut 2 squares of the mane fabric and 1 of the crinkle slightly larger than the whole of the lion face. 

I love making things for children because you don't need to get the colours right....blue mane here we come. 

Two 
Sew on the face features, either by machine or by hand or as I have done half and half. 

Three 
Stitch around the mane with the fabrics right side together and the crinkle on top. Leave a gap so you can turn it out.


Cut off the excess fabric and slit in every dip to make it turn smother, do not cut the stitching. Turn it out and press using a bit of fabric between it and the iron. Stitch close the gap.


Four 
Stitch around the face on the mane front leave a gap so it can be stuffed. Stuff it and close up.


And it's all finished one nice easy little tutorial.


Although this lovely makes a lovely lion you can draw whatever animal or shape you want and make it. Isn't that lovely. 

Here are a few of my favourites children toy tutorials.... 


Thursday, 26 February 2015

Dribble bib DIY

I have been sitting on this one for a while because I couldn't get my scanner working for the template but here you go...

I don't know about other little people, but mine is like a waterfall of dribble (and usually snot) when she's teething. Plus a coordinating dribble bib looks very cute! 
Dribble Bibs are quick and easy to knock up with very little time and fabric, plus they make great gifts for a new baby.


What you will need......

  • Cotton fabric for the top 
  • For the lining I use muslin cloths that have got stained, other suggestions are knit, terry cloth or flannel.
  • Template
  • 1-1.5inch of Velcro or Poppers also called snaps
  • Contrasting thread 
  • Pins
  • Fabric pencils/Vanishing pen
  • Scissors 


The top fabric is the sleeve of an old tshirt that has been stamped with fabric paint. Fabric paint is so much funnnnnnnn.


ONE. Download the template and cut out the top fabric and lining fabric, remembering to leave the seam allowance.


TWO (If your using Velcro) Attach one side of the Velcro to the right size of the top fabric near the corner. and in the same place on the lining fabric attach the second bit of Velcro
.


THREE Pin the 2 fabrics right size together, then sew around it leaving a 2inch gap at the end, so it can be turned the right way out.

FOUR Trim the corners makes it easier to turn out. Once turned give it a quick press (careful of the Velcro) and hand or machine sew close the gap.


FIVE Stitch around the outside to make it lay flatter and pop it around your little persons neck.


SIX Sit back make yourself a cup of tea and enjoy not having to change their clothing every 10 mins.

One happy Squiggle!!

Have you spotted the dress made from this fabric!?! I will write a tutorial but I completely forgot to take picture when I made that one. Fail

Mine cost a grand total of a bit of thread. Recycling at its best!

For other ideas on how to personise your dribble bibs pop over to my Pinterest. http://uk.pinterest.com/k8efrew/dribble-bib/

Have a lovely week xx

Wednesday, 21 January 2015

Babies stacking cubes

I really wanted some cubes that could be stacked up for squiggle bum to knock down. I sent the husband on a shopping trip (so I could do some housework without distraction) and in typical man style, they came back with loads of toys but no stacking anything grrr. It is very cute he likes to think squiggle is really advanced so get toys that she doesn't understand yet so she can 'grow into them' but sometimes I just want simple toys.
So it is time raid the scraps box and make my own.


You will need...

  • Felt, fabric and textured materials
  • Stuffing, toy stuffing or wadding (I used wadding as I always have scraps around)
  • Sewing supplies
  • Ruler
  • Scissors or cutter 
The scrap box is looking very full at the moment. The pink is general scraps, the black are 3 and 2 inch strips for quilt edging and all the tiny bits perfect for appliqué. 


One
I made a 6 inch, 2 x 5 inchs, 2 x 4 inches, one 2 1/2 inches and one 5 inch one in felt of something a little different. 
I started by cutting 6 squares for each size, leaving 1/4 inch seam allowance. 
For example; for the 5 inch cube each square is 5 1/2 by 5 1/2 inches, for the 4 inch cube each square is 4 1/2 by 4 1/2 inches.

Cut out numbers, letters and embellishments for each side. I started to run out of ideas for shapes so they started to get a little random lol. Sew all the shapes on.

Two

Layout your 6 squares like the cube net. Sew the touching edges together but leave a 1/4 inch gap at either end.


Three
I find it easiest to sew the flaps right the way around. Sewing together A-F and G left open.


On the larger cubes I closed the gap up a bit.


Four
Turn the square the correct way around and stuff the cube. I stuffed mine with squares of wading scraps left over from quilts.


Finally sew close the gap either by hand or machine. And its PLAY time!!


Just as I closed the last one squiggle bum awoke from her nap and we spent the next half an hour playing. Squiggle started to get a evil look when it came to knocking them down, but shes so cute. 


I have been doing a bit of quilting this week. This one with lovely one direction fabric on the back is a half sized quilt (half the size of a single duvet). And a second baby boy quilt that is currently awaiting the name of a new arrival, how exciting.


I would also like to know why my lovely shelves which were covered in jars of buttons now looks like this!!!! How rude. 


Have a wonderful week with your squiggles! But make sure you enjoy a cup of tea every so often. 

Monday, 12 January 2015

Up cycling/ Stain covering baby bodysuits

I don't know how squiggle bum does it but she manages to stain her bodysuits regardless of any bib or plastic sheet, especially when someone forgets to put one on. And why is tomato (little persons favourite food) so darn hard to get out regardless how much pre-soaking etc. so to fix this I decorate the fronts.


I do apologise this tutorial is very girl orientated, but I have no use of boyish clothing I have put a few boy ideas on my Pinterest. http://uk.pinterest.com/k8efrew/baby-bodysuits/
I did get a bit of a shock searching bodysuit on pinterest lol.

What you will need....

  • Stained bodysuit or one you just want to prettify 
  • Ribbon and fabric for embellishment
  • Scissors
  • Tape measure 
  • Thread
  • Pins 
The first thing to do is decide what embellishments you want, fabric, ribbon, buttons, sequins, beads, embroidery, the list in endless, just remember to sew any chocking hazards on very securely.

For staining around the neck line. 

One Make sure your bodysuit is clean and dry. Measure the length of your neck line, mine is 32cm (its a 9-12 month suit) 

Two Hem and iron yourself a ruffle. This was a 3 inch strip from my quilt making stash.


Three Tack the ruffle to the neckline. This makes it easier to position and to sew on stretchy fabric. 

Four Cut your ribbon and burn the end to stop them fraying (or hem fabric if that's what your using). Stitch down the inside first them fold over and stitch the outside.


Or if your staining is down the body, how about appliquéing on shapes?

I used t-shirt fabric as it doesn't fray as easily and adding ribbon as tags keeps little person happy. (Hint: use interfacing on the underside of your fabric shapes). 


Enjoy your newly decorated childrens Bodysuits and keep the tomatos away :) xx