Showing posts with label no machine. Show all posts

Tuesday, 24 March 2015

Baby lion plushie

So it's baby time of year and I have a few friends due to have babies soon. So it is time to make a few handmade gifts to go along with the normal new baby gifts.


Now I came across an amazing little trick recently, on my wanders around Pinterest (might be a bit of an obsession).

The crinkle in kids toys can be made using the bag that cereal comes in. Amazing!! Well it can be made using anything that crinkles...biscuits packets, crisps packets etc. But cereal bags are the best because there white.

What a horrible face small is pulling!?!? and in her Christmas PJs.
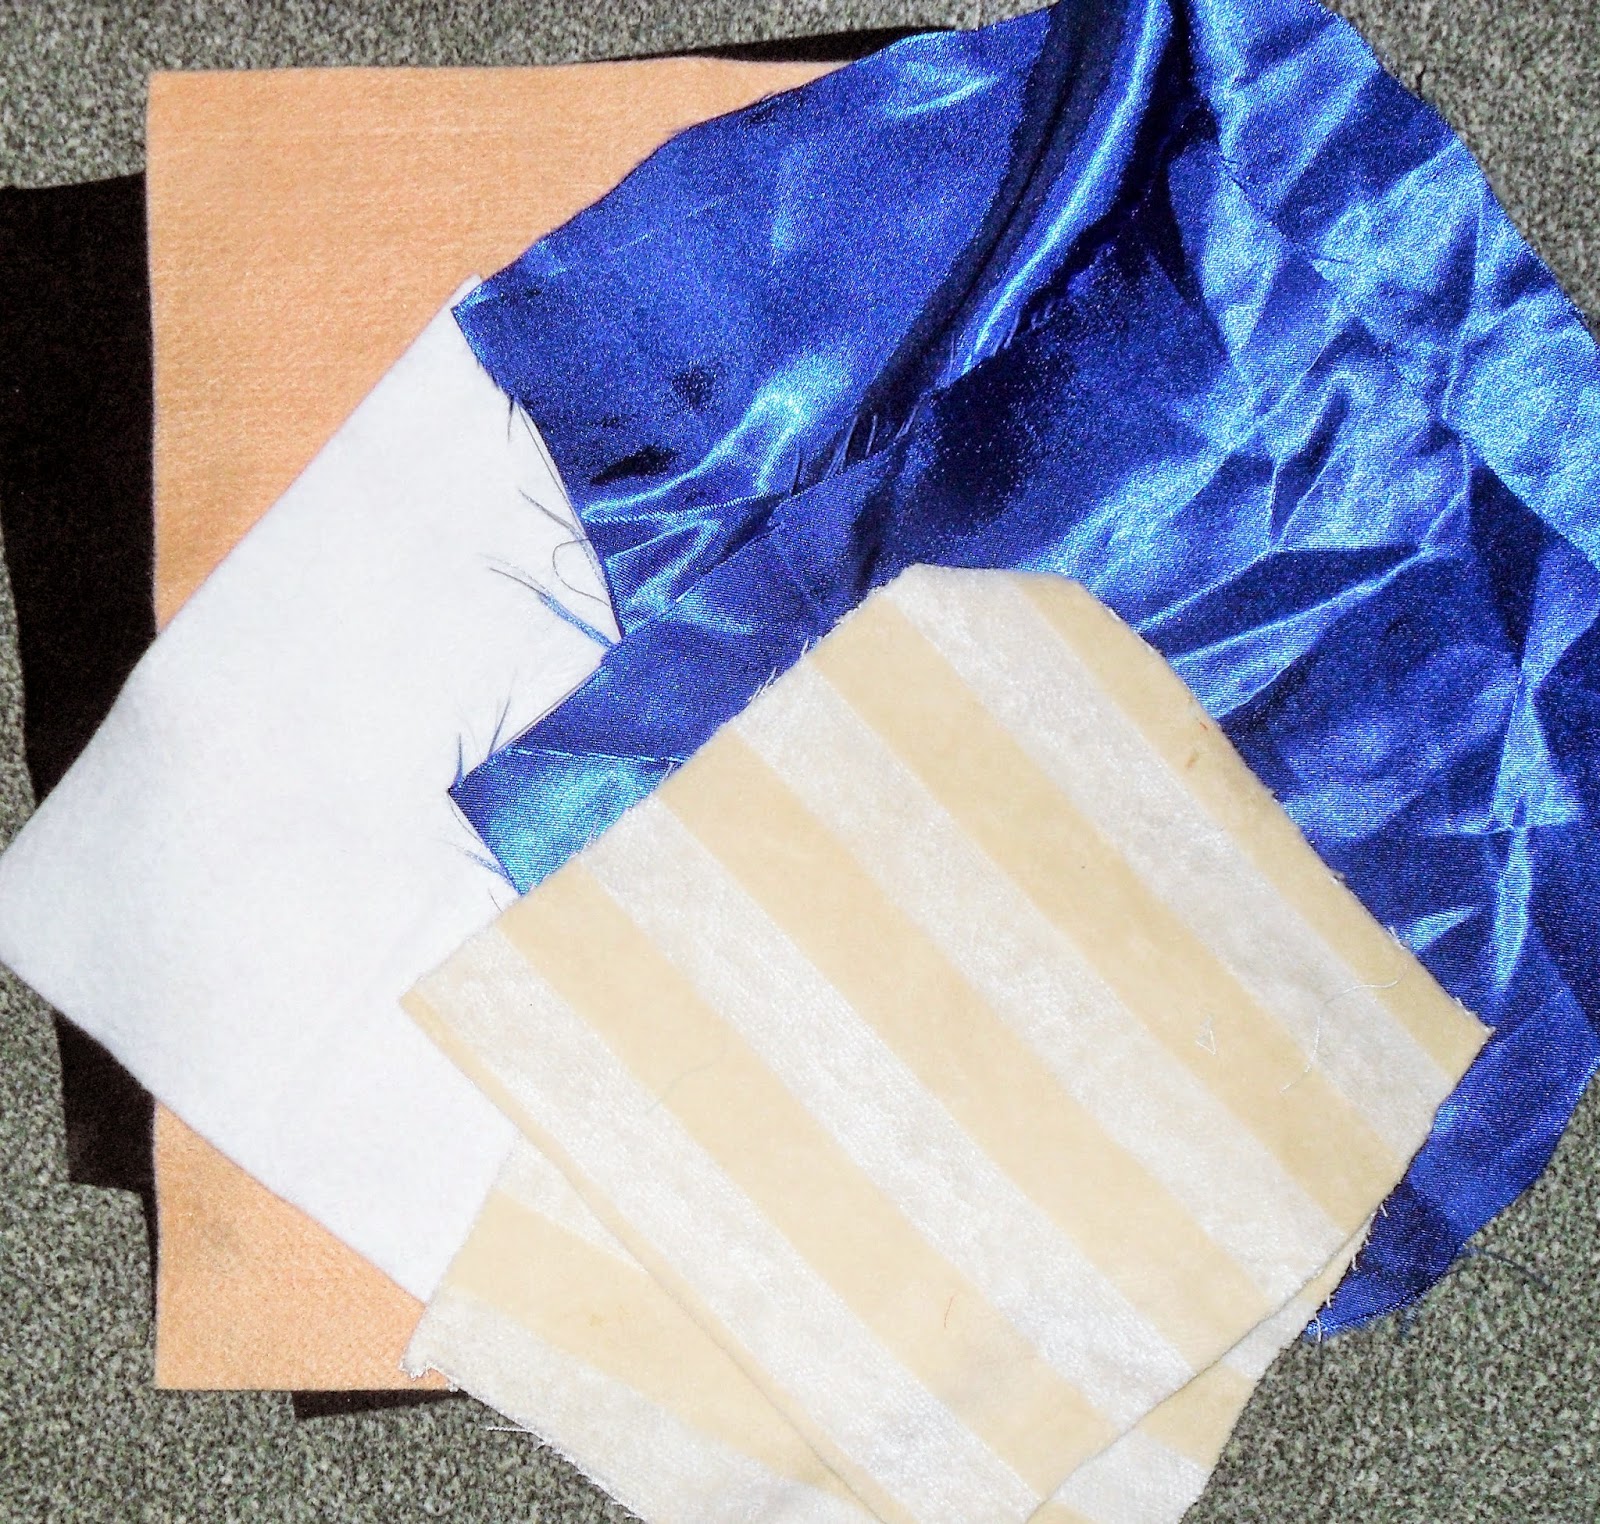
You will need....
Some lovely feeling fabric for the face  
Something shinny for the mane 
Felt for the face
Toy stuffing 
Crinkly plastic
Cotton 

**please remember who this is for so don't cover in buttons, leave loose bits etc.**

One 
Print and cut out your template. Cut out the faces once and eyes, nose and whisker spots. Cut 2 squares of the mane fabric and 1 of the crinkle slightly larger than the whole of the lion face. 

I love making things for children because you don't need to get the colours right....blue mane here we come. 

Two 
Sew on the face features, either by machine or by hand or as I have done half and half. 

Three 
Stitch around the mane with the fabrics right side together and the crinkle on top. Leave a gap so you can turn it out.


Cut off the excess fabric and slit in every dip to make it turn smother, do not cut the stitching. Turn it out and press using a bit of fabric between it and the iron. Stitch close the gap.


Four 
Stitch around the face on the mane front leave a gap so it can be stuffed. Stuff it and close up.


And it's all finished one nice easy little tutorial.


Although this lovely makes a lovely lion you can draw whatever animal or shape you want and make it. Isn't that lovely. 

Here are a few of my favourites children toy tutorials.... 


Thursday, 12 March 2015

Asking the Godparents

So I finally got off my bum and have arranged small persons Christening, Good mummy!

We are having a christening/congratulations to making it to a year old party. And I wanted a cute way of asking the godparents. Now I will admit we did FaceTime them all first to ask them so we could see their faces, it was very funny, but I wanted something silly as well.


Now the men were easy, how else would you ask than with a cigar?!


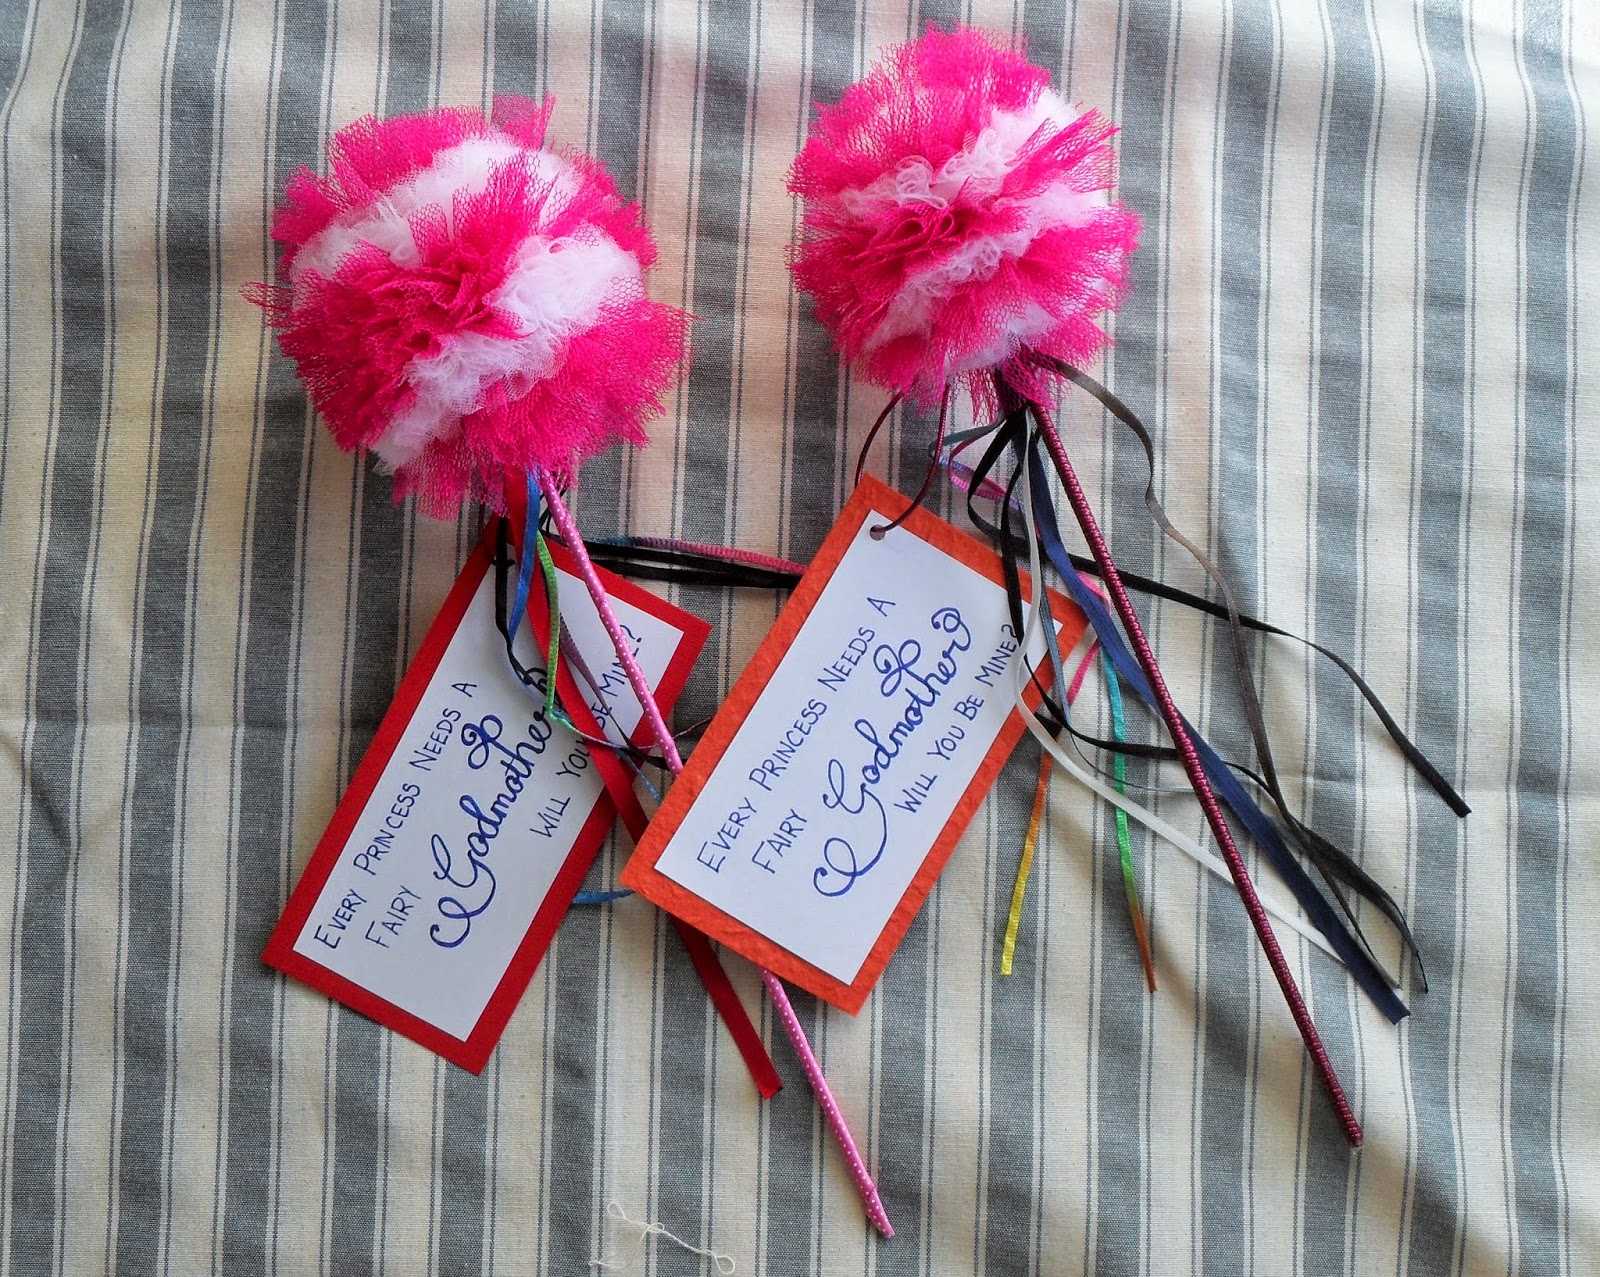
But the ladies, my best friend Katie and he's best/oldest friend Emma (promise I'm not calling you old). So what better way than with a fairy godmother wand.


The best bit for me is I got to use my pompom makers...very exciting stuff, and the calligraphy pens wooooop it was like my party to. 


And finally I needed some invites...

Now I am only aloud to show these off because they have arrived to a few cute piccys. 

Monday, 9 March 2015

Zip coin purse

It's been a weird uncreative couple of weeks for me... Been surrounded by curtains, pillow cases and boring things. 

Well remember the macaroon coin purse I made a few weeks ago, well I did say it was a 2 parter. Now it was going to be a clasp purse then I found this little tutorial on Pinterest. I thought it would be very funny for the 8 year old it's heading to.


I learnt 2 things...
1 I need more exciting ribbon...shopping me thinks. 
2 Hand sewing something long that a small person can hang off is very very silly!


Friday, 20 February 2015

Macaroon coin purse

Hope everyone's having a great half term. We have been visiting family and friends in Eastbourne, been to a wonderful wedding and currently have all the our white goods in the living room while the kitchen floor is relayed. Have you ever had to keep an 11 month old off a sticky floor? No it's a nightmare!

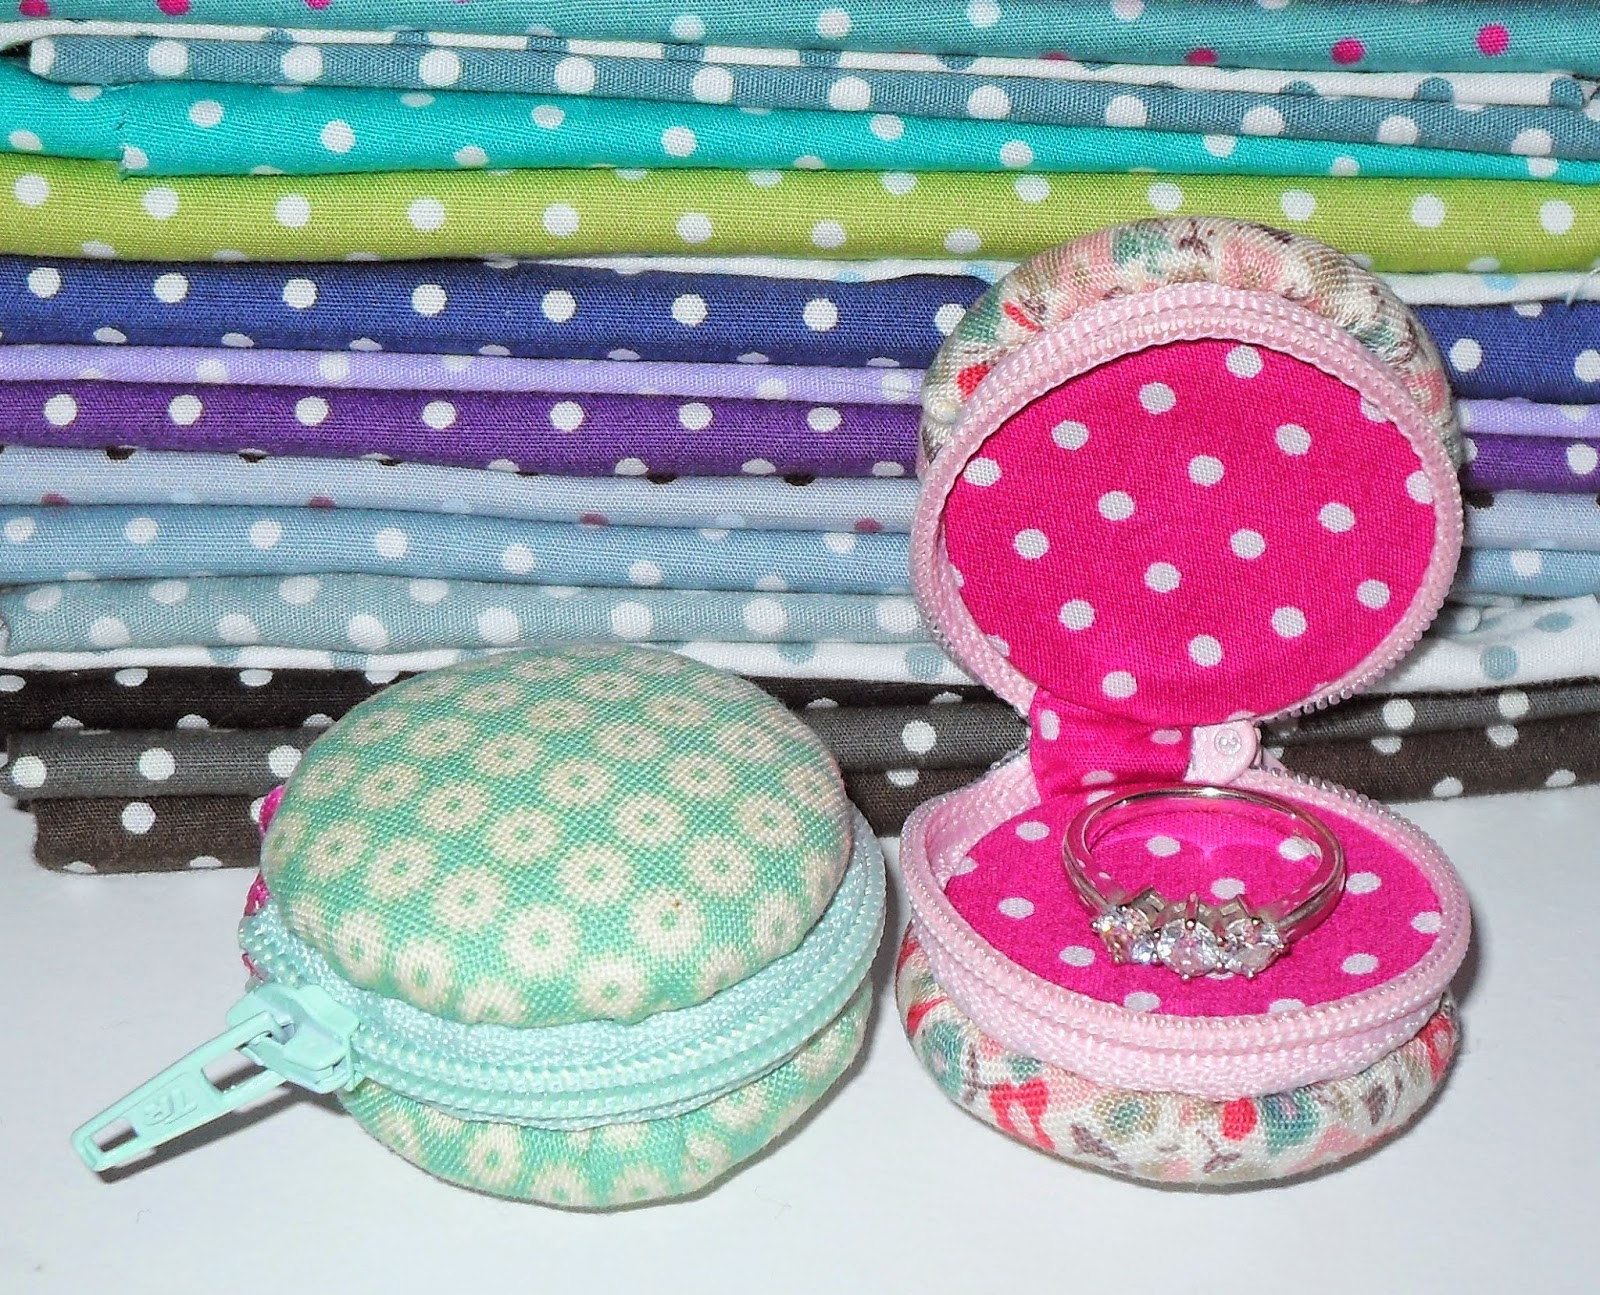
Anyways today's tutorial is this cute little number, its a 2 parter this slightly impractical coin purse and a clasp coin purse coming soon. The macaroon coin purse holds a small amount of lose change or small jewellery, plus it's uber cute and so easy, it would make a nice project for a young sewer. I used to make these for family when I was younger, I suspect after the 4th one my Grandma was just humouring me but oh well.


The pink one is for my husbands Goddaughter, when we where visiting we took her and squiggle to the park and she lost her pennies. And silly me asked if she had a purse, the answer 'noooo can you make me one!!' Its a good things she's just as cute as squiggle and very cheeky. 

You will need... 
  • Fabric for your inner and outer 
  • 38mm coverable buttons, 2 for each macaroon, remove the button loop. 
  • 5 inch Zip or you can cut down a larger one
  • Felt or batting - I used felt
  • 1 and 1/2 inches of ribbon
  • Glue 
  • Cotton 
  • Some way to mark fabric - I use vanishing pens
One
Make 2 circle templates 2 and 3/4 inches and 2 inches in diameter. You need 2 of he larger circles in your outer fabric. 2 of each smaller in felt and inner fabric. Finally you will need 2 inch long bit of lining fabric made into binding thats 1/2 inches wide.


Two
Shortening your zip if needed. Measure 5 inches from the top of the zip and mark. Stitch over the zip at the 5 inch point to create a stopper.


Hopefully you can see the stopper.


Cut out the excess zip below the stopper. Finally shorten the taps at top and bottom to 1/2 inch. 


Three
Stick the felt to the inside of the larger circle and stitch a running stitch around all the circles. Put the 
buttons inside the circles and pull the running stitch tight and tie off. 


Four
Burn the ends of the ribbon to stop fraying. Fold in half and stitch to the bottom of the zip, so it looks like a tag.


Pin the zip right sides together (I find it easiest with the zip open a bit) and stitch the binding tap on the join. If the zip is the correct way around the binding should be on the inside, like the picture below.


Five
Using the running stitch again stitch around the zip and pull tight and tie off.


Six
Using slip stitches attach the button outers to the zip, do this with both outers. Remember how far away from the zip you stitch effects how deep your purse is. I left a bit more room in this one than the blue one so it can store more pennies.


Then do exactly the same with the inner circles.


And its done!! 


Showing off my spotty fabric collection, happy me. 


Sunday, 25 January 2015

Little girls head band with Suffolk puffs

I wanted an easy little gift for little girls and decided on pretty headbands using Suffolk puffs (also called yo-yo's) and a few bits of embellishments.


This is soooo easy I made and wrote this tutorial while watching TV and having a weekend mooch. Also they are lovely and cheap, the headbands are a pack of 3 from Primark for £2.50, a little fabric and a few embellishments from the stash. 

I first heard of Suffolk puffs at a craft fair in Norfolk and a lovely old lady came in and described how to make them perfectly. Since then I have made hundreds as they are nice and easy to make while sitting in front of the TV and are another great way to use up scraps.

What you will need...

  • Fabric 
  • Circular templates (bowls, mugs) sizes of your choice
  • Thread 
  • Beads and buttons 
  • Felt for backing
  • Vanishing pen 
  • Scissors 
  • Hot glue gun 

Have you spotted my little helper!! 


One 
Start by making your puffs. Cut out 4 circle of fabric and stitch around the outside as shown. Then pull both ends tight and tie them off. How easy was that!!


Two 
Sew your puffs together. If you stitch through the top layer make sure the stitch back through is really close so the stitch will be almost invisible. 


Three 
Now the fun bit choose your embellishments and buttons. La la la this could take a while. Attach your chosen fancys. 


Four 
Draw around your puffs onto the felt and cut it out slightly smaller than the puffs.


Five 
Sew the puffs to your head band and hot glue the backing to cover the messiness.


And you have a pretty and unique headband. Amazingly small managed to stay stillish and look slightly cute. 

Hope everyone has had a restful weekend. xx